Few desserts capture the heart and palate quite like a warm, gooey cocoa pudding cake. Imagine a dessert that combines the fluffy texture of cake with the richness of molten chocolate pudding—sounds like a dream, doesn’t it? This guide is your ticket to mastering the art of making this indulgent treat. Whether you’re a seasoned baker or new to the kitchen, you’re about to discover a recipe that’s easy to follow and guaranteed to impress.
Table of Contents
What Is a Cocoa Pudding Cake?
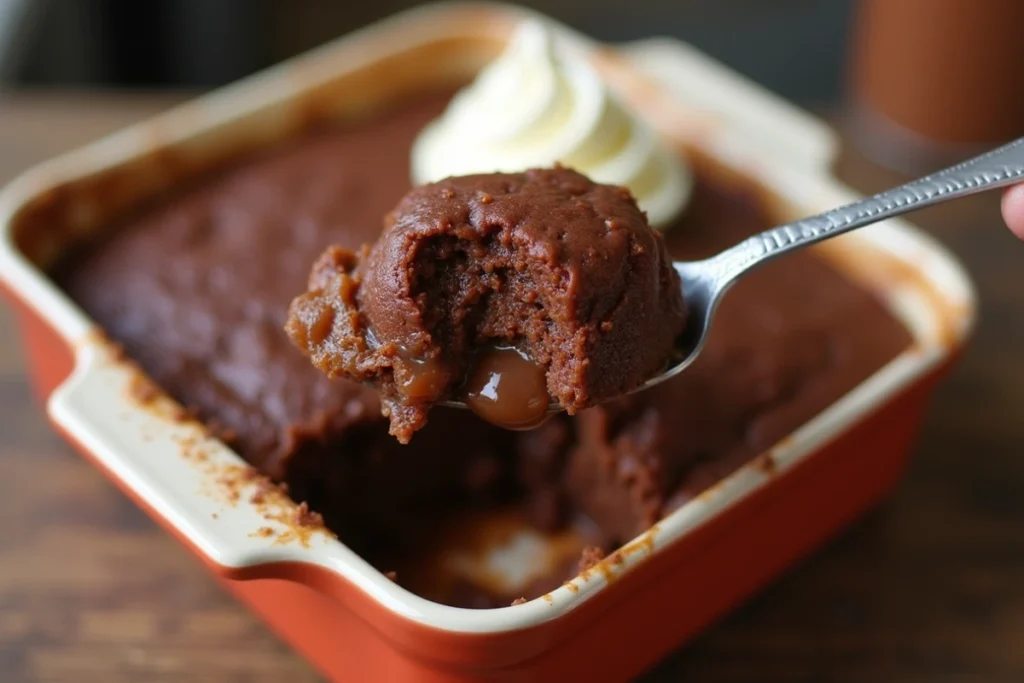
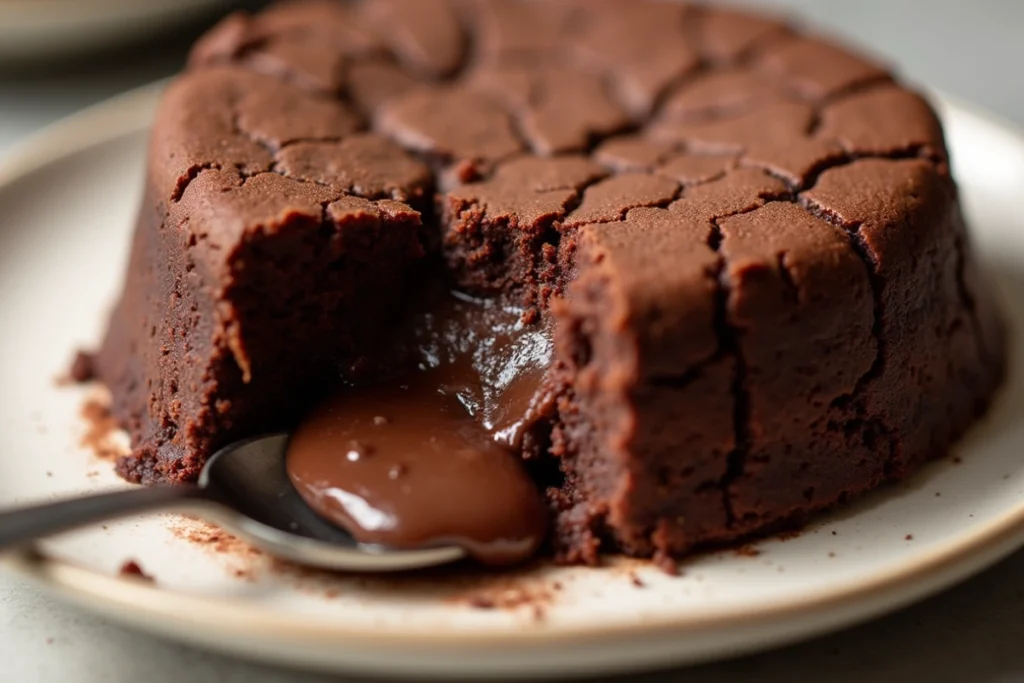
Cocoa pudding cake, often referred to as a self-saucing dessert, is a masterpiece for chocolate lovers. Unlike traditional cakes, this treat has a unique, almost magical quality. As it bakes, it separates into two distinct layers: a moist, spongy cake on top and a rich, velvety pudding underneath. The result? A dessert that’s as indulgent as it is easy to prepare.
The secret to cocoa pudding cake lies in its simplicity. Using basic pantry ingredients like cocoa powder, flour, and sugar, you create a batter that transforms into an irresistible combination of textures. The process involves pouring hot water over the batter before baking, a step that might seem unusual but is essential for forming the gooey pudding layer.
This dessert is especially beloved for its versatility. You can serve it as a casual family treat or elevate it with a scoop of premium vanilla ice cream for a more sophisticated presentation. Its warm, comforting flavors make it a popular choice during colder months, though it’s equally delightful year-round.
Whether you’re new to baking or a seasoned pro, cocoa pudding cake is a recipe you’ll return to time and again. Its rich chocolate flavor and melt-in-your-mouth texture make it the ultimate comfort food. Plus, the fact that it creates its sauce means fewer dishes to wash—a win-win for busy home cooks.
So, why does cocoa pudding cake stand out from other chocolate desserts? It’s all about the experience. When you take that first bite, the soft cake gives way to the warm pudding, creating a harmony of flavors and sensations that’s hard to resist. It’s no wonder this dessert has become a favorite among chocoholics and dessert enthusiasts alike.
Whether you’re craving something sweet after dinner or planning a crowd-pleasing dessert for your next gathering, cocoa pudding cake is the perfect choice. Its simplicity, flavor, and wow factor will make you a fan for life.
Ingredients You’ll Need
Before diving into the recipe, let’s gather everything you need. This ensures a smooth baking process and helps you avoid last-minute grocery store runs.
| Ingredient | Quantity | Notes |
| All-purpose flour | 1 cup | Sift for a lighter batter |
| Unsweetened cocoa powder | 6 tbsp | Divided: 3 tbsp for the batter, 3 tbsp for the topping |
| Granulated sugar | 3/4 cup | |
| Baking powder | 2 tsp | |
| Salt | 1/4 tsp | Enhances the chocolate flavor |
| Milk | 1/2 cup | Use whole milk for creaminess |
| Butter, melted | 2 tbsp | Adds richness |
| Vanilla extract | 1 tsp | Rounds out the flavor |
| Brown sugar | 1/2 cup | For the topping |
| Hot water | 1 cup | Essential for the pudding layer |
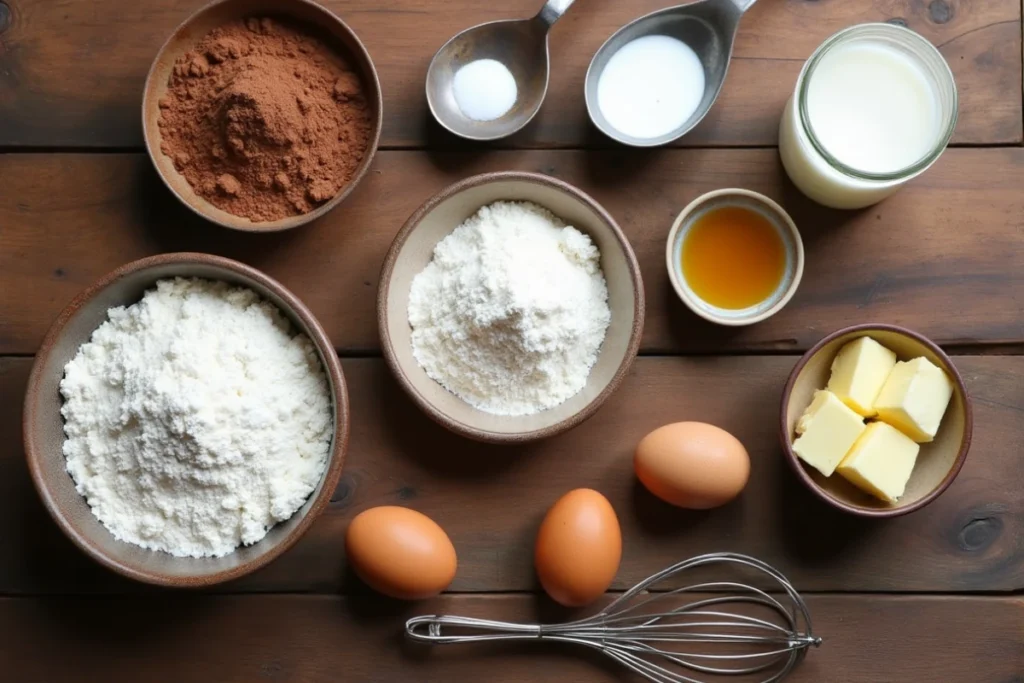
Step-by-Step Guide to Making Cocoa Pudding Cake
1. Preheat Your Oven
Set your oven to 350°F (175°C). This ensures your cake bakes evenly and achieves that perfect texture.
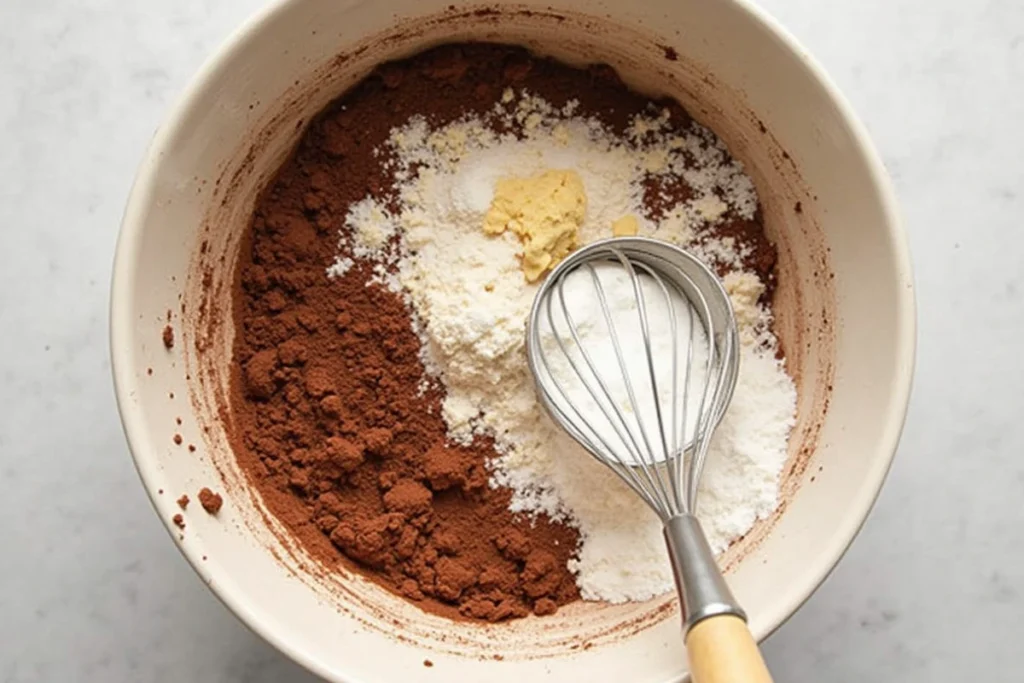
2. Mix the Dry Ingredients
In a large mixing bowl, combine the flour, granulated sugar, baking powder, salt, and 3 tablespoons of cocoa powder. Whisk these together until well combined.
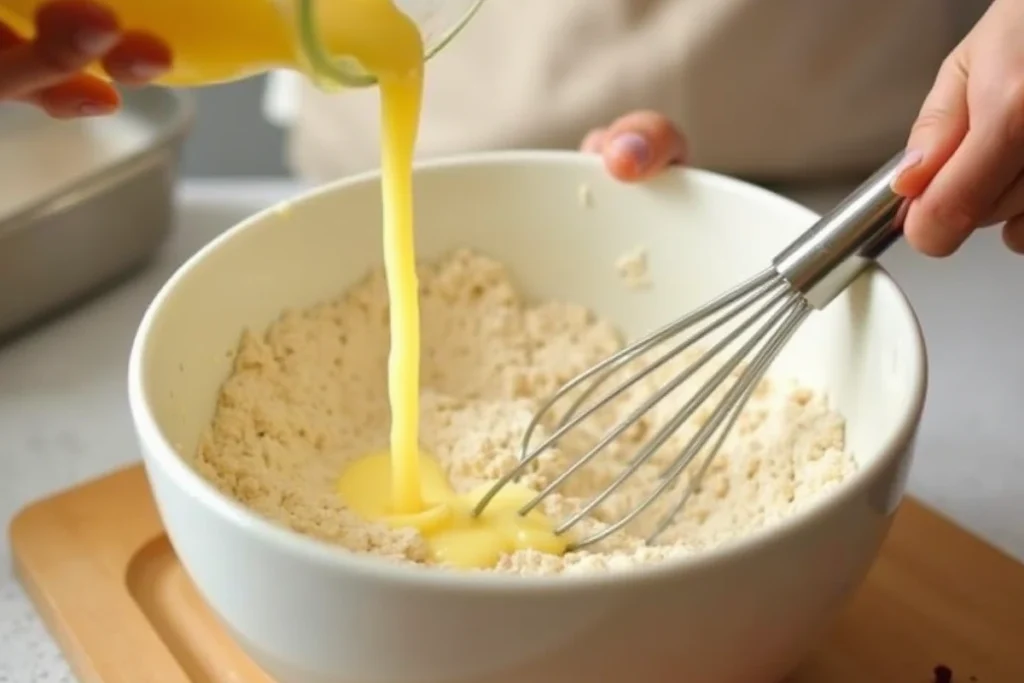
3. Add the Wet Ingredients
To the dry mixture, add milk, melted butter, and vanilla extract. Mix gently until the batter becomes smooth and free of lumps. Avoid over-mixing to keep your cake light and airy.
4. Prepare the Cake Batter
Grease a medium-sized baking dish and pour the batter into it, spreading it evenly.
5. Create the Topping
In a separate bowl, mix the brown sugar with the remaining 3 tablespoons of cocoa powder. Sprinkle this mixture evenly over the batter.
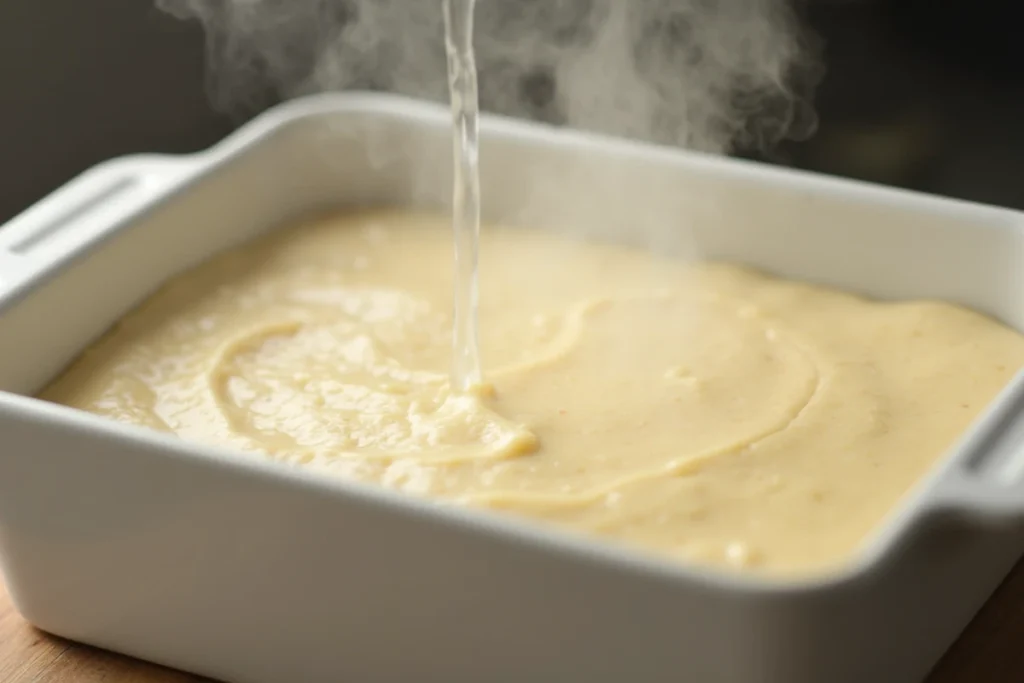
6. Add the Hot Water
Here’s where the magic happens: slowly pour the hot water over the entire surface of the batter. Do not stir—it’s crucial to leave the layers intact. This step creates the pudding layer as the cake bakes.
7. Bake the Cake
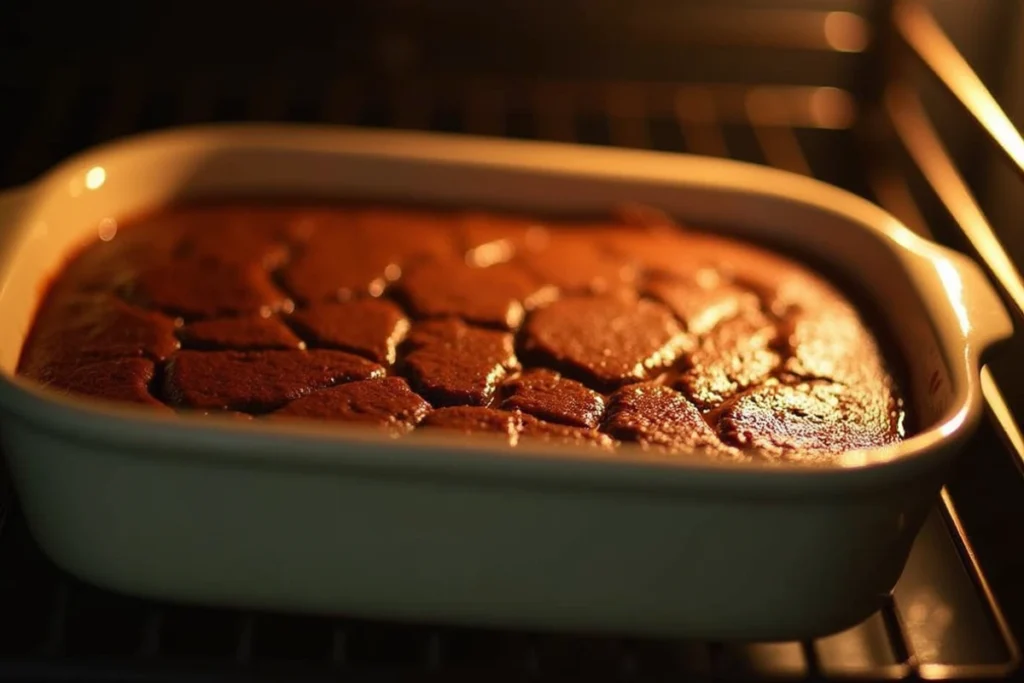
Put the dish in the oven and let it bake for 35 to 40 minutes. The top should appear firm and slightly cracked, while the pudding layer underneath stays deliciously gooey.
8. Cool and Serve
Let the cake rest for approximately 10 minutes before serving. This gives the pudding layer time to thicken slightly. Enjoy it warm, topped with a scoop of vanilla ice cream or a dollop of whipped cream for a truly indulgent treat.
Pro Tips for the Perfect Cocoa Pudding Cake
Creating the perfect cocoa pudding cake goes beyond simply following the recipe—mastering the details that make this dessert extraordinary. Here are some pro tips to help you achieve perfect results with your cake every time:
1. Choose High-Quality Cocoa Powder
The flavor of your cocoa pudding cake depends heavily on the quality of the cocoa powder you use. Opt for a natural, unsweetened cocoa powder with a rich, deep chocolate flavor. If you want to elevate the taste further, consider using Dutch-processed cocoa for a smoother, less acidic profile.
2. Don’t Skip the Hot Water Step
Pouring hot water over the batter before baking might seem unconventional, but it’s the magic behind the pudding layer. Use freshly boiled water, and pour it gently and evenly over the cake batter. This step ensures the liquid seeps through to create the luscious chocolate sauce at the bottom. Remember, do not stir after adding the water—keeping the layers intact is key to achieving the self-saucing effect.
3. Use the Right Baking Dish
To get the perfect texture for your cocoa pudding cake, choose a medium-sized baking dish with high sides. A ceramic or glass dish works best, as these materials distribute heat evenly. Avoid metal pans, which can overheat and alter the baking process.
4. Timing Is Everything
Bake the cake just long enough for the top to set and the pudding layer to form. Overbaking can dry out the cake and reduce the sauce’s gooey texture. Keep a close eye during the last 5 minutes, and test for doneness by gently shaking the dish—the top should be set, but it should jiggle slightly underneath.
5. Customize Your Cocoa Pudding Cake
While the classic version is a hit on its own, you can add creative touches to suit your preferences:
- Mix in semi-sweet chocolate chips for bursts of melted chocolate in every bite.
- Stir in a teaspoon of instant espresso powder to deepen the chocolate flavor.
- Sprinkle crushed nuts or shredded coconut over the top for added texture.
6. Serve It Warm for Maximum Impact
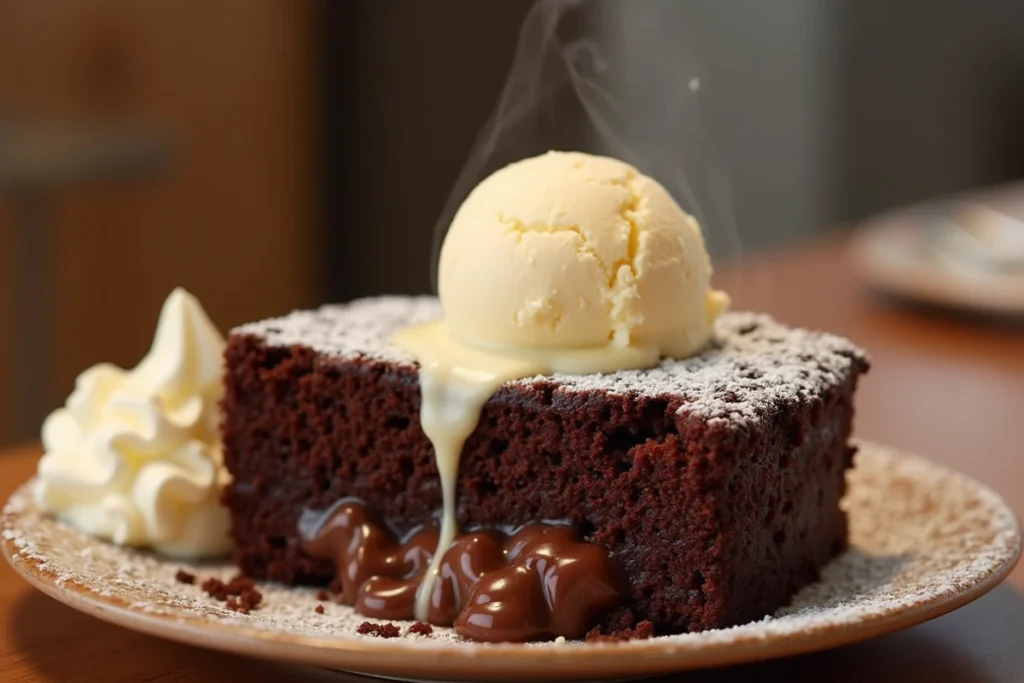
Cocoa pudding cake is best enjoyed warm, straight out of the oven. Let it cool for 5–10 minutes to allow the pudding layer to thicken slightly. Pair it with a scoop of vanilla ice cream or whipped cream for the ultimate dessert experience.
7. Store and Reheat Properly
If there are any leftovers (which is rare!), keep them in an airtight container in the refrigerator. When reheating, microwave individual portions for 20–30 seconds to restore the gooey, pudding-like texture.
By following these pro tips, your cocoa pudding cake will not only look and taste incredible but also become a show-stopping dessert that your family and friends will rave about. It’s a recipe worth perfecting, and with these insights, you’ll have all the tools to make it flawlessly every single time.
Why You’ll Love This Recipe
Cocoa pudding cake isn’t just another dessert—it’s an experience. Here’s why this recipe is bound to win you over:
- A Magical Baking Transformation: Unlike most cakes, cocoa pudding cake creates its own rich, gooey pudding layer as it bakes. You don’t just bake a cake; you watch the magic of self-saucing dessert unfold.
- Intense Chocolate Flavor: The deep, decadent taste of cocoa shines in every bite. Thanks to the double layers—moist chocolate cake on top and luscious cocoa pudding underneath—you get the best of both worlds in one dish.
- Warm and Comforting: Imagine taking a spoonful of warm, gooey chocolate dessert on a chilly evening. Cocoa pudding cake is the epitome of comfort food, perfect for cozy nights or special moments with loved ones.
- Simple Pantry Ingredients: You don’t need to hunt for exotic items. With staples like cocoa powder, sugar, and milk, this recipe is as accessible as it is delicious.
- Beginner-Friendly: Whether you’re an experienced baker or a novice, cocoa pudding cake is incredibly easy to make. The step-by-step process ensures success every time.
- Versatility: This recipe is a blank canvas for your creativity. Want to add a handful of chocolate chips or a sprinkle of nuts? Go ahead. Need a gluten-free version? Swap the flour with a gluten-free blend.
- Impress Without Stress: Cocoa pudding cake has a wow factor that’s perfect for entertaining. Serve it warm with a dollop of whipped cream or a scoop of ice cream, and watch your guests light up with delight.
- Minimal Cleanup: One of the best parts? No need for multiple pots and pans. The cake and pudding layers form in the same dish, making cleanup a breeze.
Cocoa pudding cake is more than just a dessert—it’s a crowd-pleaser, a comfort food, and a conversation starter. Whether you’re whipping it up for a quiet family dinner or showcasing it at a party, this recipe delivers a chocolate experience that’s as easy to make as it is unforgettable. Once you try it, it’s sure to become a staple in your dessert repertoire.
Conclusion: Dive Into Your Cocoa Masterpiece
You’ve just unlocked the secret to making an unforgettable dessert. Cocoa pudding cake is more than just a recipe—it’s a comforting treat that brings people together. Now it’s your turn to create this decadent delight. Share it with family and friends, or savor it solo as a well-deserved indulgence.
If you loved this recipe, share your experience in the comments below. Don’t forget to tag us on social media with your cocoa pudding cake creations. We can’t wait to see your masterpieces!
FAQs About Cocoa Pudding Cake
Can this cake be made ahead of time?
Yes! Although it’s best enjoyed warm, you can reheat leftovers in the microwave for around 20 seconds per serving to bring back its gooey texture.
Can I use a sugar substitute?
Absolutely. Choose a sugar substitute designed for baking to ensure the right texture and sweetness.
How do I store leftover cake?
You can protect the cake in the refrigerator for up to three days. Reheat portions as needed.
Can I make this gluten-free?
Yes! Opt for a gluten-free flour blend instead of all-purpose flour. Ensure the mix contains xanthan gum for structure.

