Halloween only comes around once a year, and it’s a great reminder that the holiday is about more than just candy. It’s a time to let your imagination run wild, especially in the kitchen. What better way to celebrate than by creating a show-stopping Halloween cake that’s as spooky as it is delicious?
When Halloween rolls around, the possibilities for festive treats are endless, but nothing steals the spotlight like a homemade spooky Halloween cake. Whether planning a party, entertaining kids, or simply treating yourself, crafting a unique Halloween cake is a fun way to celebrate the holiday. In this guide, you’ll learn how to create a stunning and delicious Halloween-themed cake that will wow your guests. This step-by-step walkthrough will make the process easy and enjoyable, from selecting your theme to decorating like a pro.
Table of Contents
What Makes a Halloween Cake Special?
Choosing the Perfect Halloween Theme
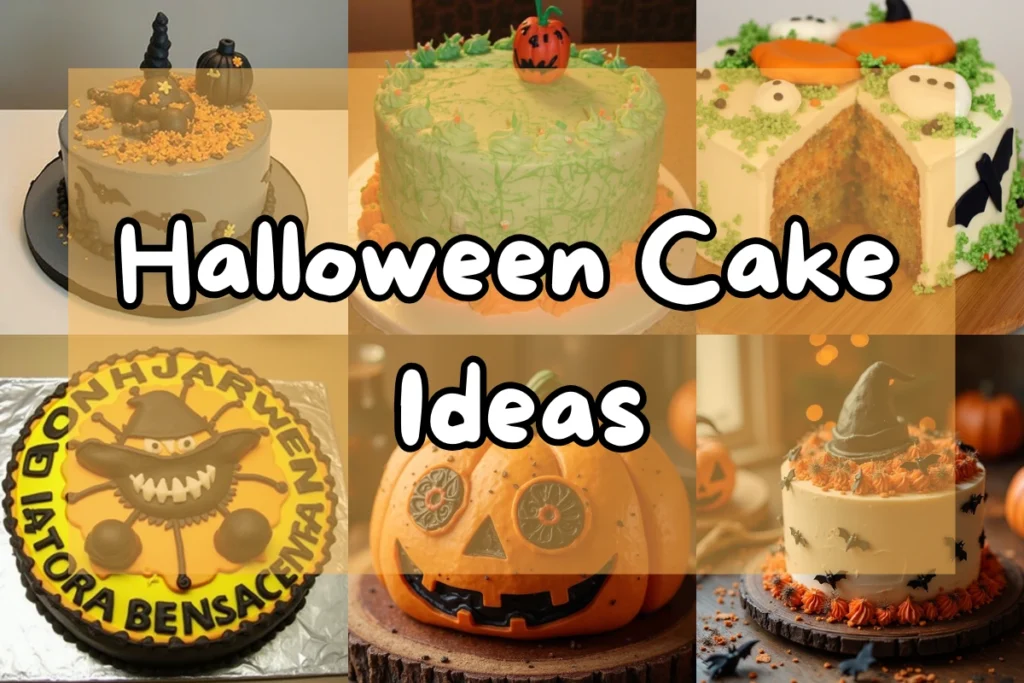
The magic of Halloween lies in its creative freedom. When designing your cake, start with a theme, setting your dessert’s tone. Are you imagining a haunted graveyard scene? Or perhaps a whimsical pumpkin patch? Picking a theme helps streamline your design choices and brings cohesion to your cake.
Popular Halloween Cake Themes:
- Haunted Cemetery: Top your cake with cookie tombstones, candy skeletons, and edible dirt made from crushed chocolate cookies.
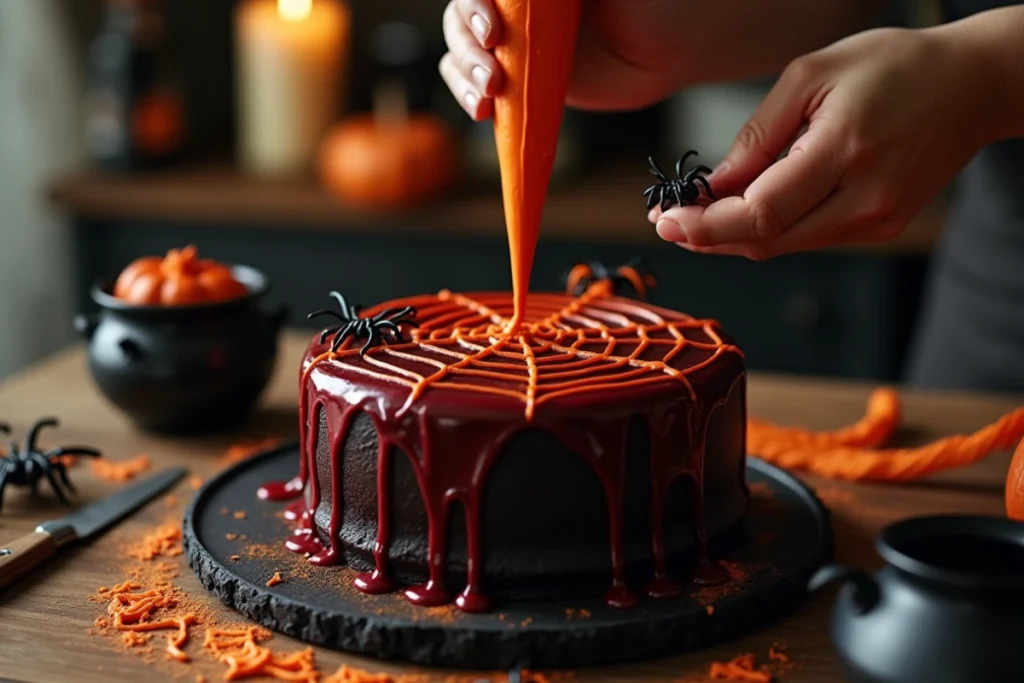
- Spider Web Design: Use black and white frosting to create intricate webs, and add candy spiders for an eerie touch.
- Pumpkin Patch: Decorate with orange frosting and mini fondant pumpkins for a festive, kid-friendly vibe.
- Dripping “Blood” Cake: A layered cake with red ganache dripping over the sides creates a dramatic, spooky effect.
Pro Tip: Match Your Cake’s Theme to Your Halloween Décor for a Picture-Perfect Presentation
Your Halloween cake isn’t just a dessert; it’s the centerpiece of your celebration. By aligning your cake’s theme with the rest of your Halloween décor, you can create a cohesive and visually stunning setup that will wow your guests and make your party feel thoughtfully planned.
How to Match Your Cake to Your Décor:
- Choose a complementary color scheme: If your decorations are focused on classic orange and black, make sure your cake reflects these hues. Similarly, for a more eerie, gothic vibe, opt for dark purples, blacks, and metallics in your frosting and decorations.
- Incorporate Shared Elements: Use design motifs that echo your décor, such as spiders, ghosts, or pumpkins. For instance, if you have a haunted house setup, consider a cake decorated with edible cobwebs and chocolate bats.
- Coordinate Cake Accessories: Present your cake on a themed stand or platter that matches the aesthetic of your party. Surround it with small props like mini pumpkins, candles, or faux cobwebs for added flair.
Why It Matters:
- Creates Instagram-Worthy Moments: A well-coordinated cake and décor setup makes for eye-catching photos, which are perfect for sharing on social media.
- Enhances the Party Atmosphere: A thematic cake ties everything together, reinforcing the Halloween vibe and leaving a lasting impression on your guests.
- Saves Time on Décor Decisions: By basing your cake design on your overall theme, you simplify the planning process, reducing the number of decisions you need to make.
Ingredients That Bring the Scares and Flavors
Creating a Halloween cake isn’t just about looks—it’s about taste too. Using the right ingredients will ensure your cake is both visually striking and delicious.
Essential Ingredients for the Cake Base
| Ingredient | Quantity |
| All-purpose flour | 2 ½ cups |
| Black cocoa powder | ¾ cup |
| Baking powder | 2 tsp |
| Baking soda | 1 ½ tsp |
| Sugar | 2 cups |
| Eggs | 3 large |
| Buttermilk | 1 cup |
| Vegetable oil | ½ cup |
| Vanilla extract | 1 tsp |
Key Additions for Halloween Flair:
- Black Cocoa Powder: Gives the cake a rich, dark color and an intense chocolate flavor.
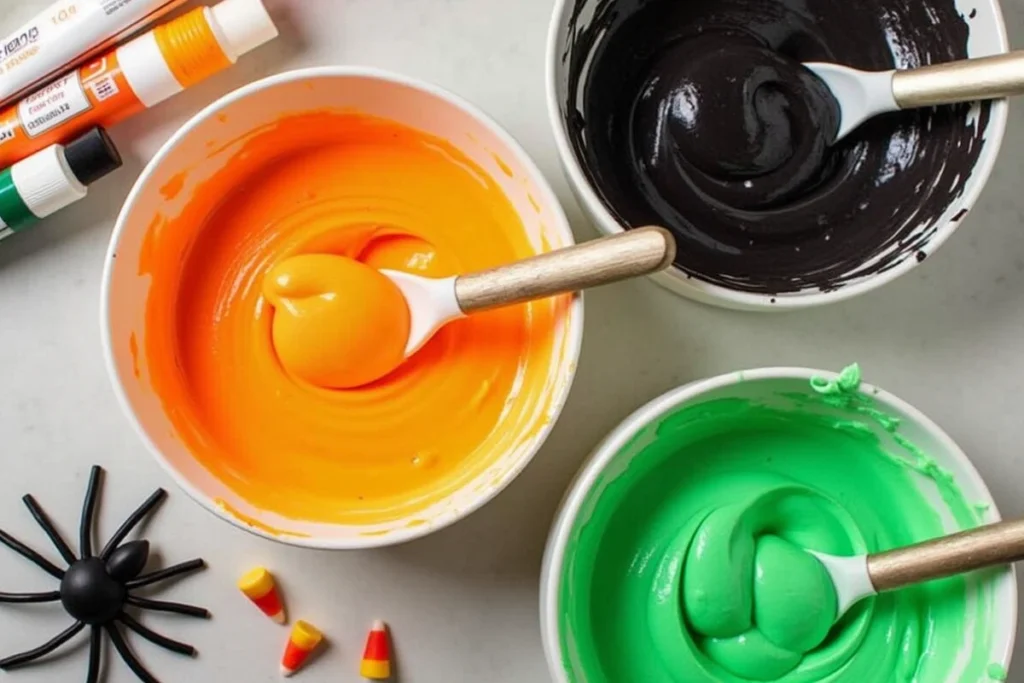
- Gel Food Coloring: Achieve vibrant shades like orange, black, and green for your frosting.
- Candy Decorations: Think of edible eyeballs, gummy worms, and mini fondant figures to bring your spooky scene to life.
Step-by-Step Guide to Making Your Halloween Cake
Step 1: Prepare Your Cake Base
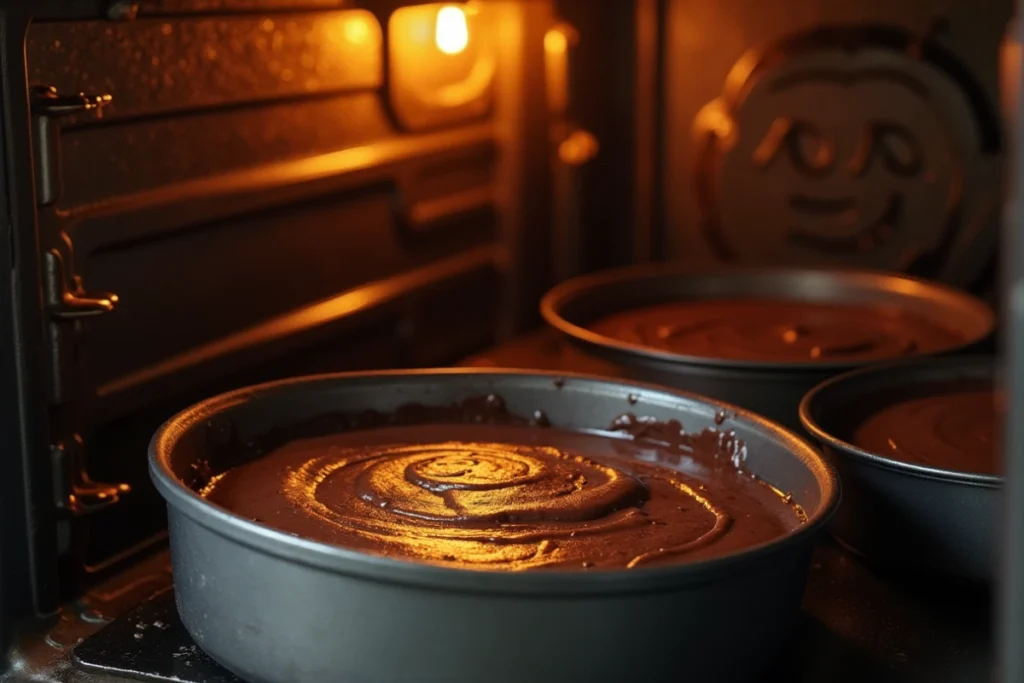
- Preheat your oven to 350°F (175°C). Grease and line two 8-inch round cake pans.
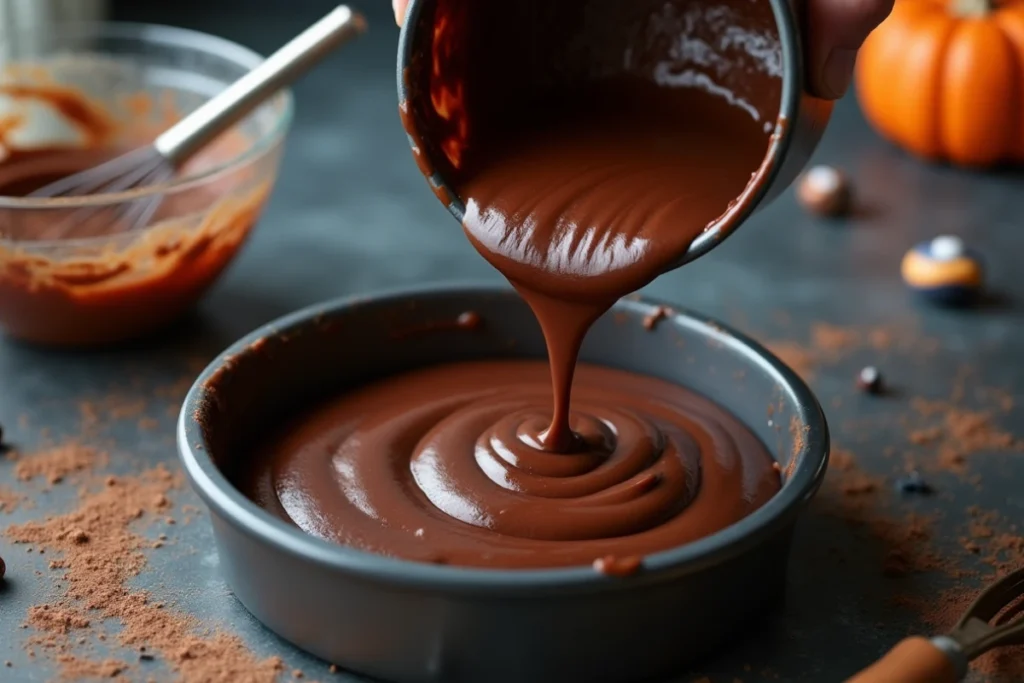
- In a large bowl, whisk together the dry ingredients—flour, cocoa powder, baking powder, and baking soda.
- In a separate bowl, mix the wet ingredients—sugar, eggs, buttermilk, oil, and vanilla extract.
- Gradually combine the dry ingredients with the wet ingredients, mixing until smooth.
- Pour the batter evenly into the prepared pans.
- Bake for 30–35 minutes, checking doneness by inserting a toothpick into the center—if it comes out clean, the cake is ready.
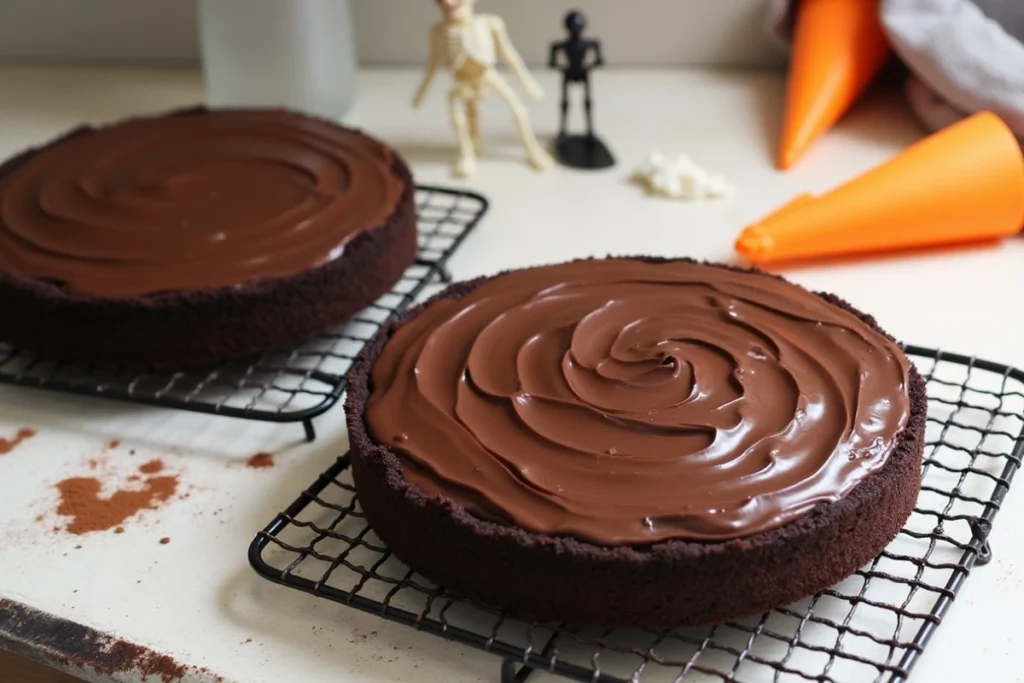
- Let the cakes cool completely before decorating.
Step 2: Create Vibrant Frosting
For a spooky Halloween cake, colorful frosting is a must. A simple buttercream frosting is easy to make and can be customized with food coloring.
Buttercream Frosting Recipe:
- Ingredients:
- 1 cup unsalted butter, softened
- 4 cups powdered sugar
- 2–3 tablespoons milk
- 1 teaspoon vanilla extract
- Gel food coloring (black, orange, green)
- Instructions:
- Beat the butter until light and fluffy.
- Add the powdered sugar gradually, incorporating it one cup at a time.
- Add milk and vanilla extract until the desired consistency is achieved.
- Divide the frosting into bowls and mix in your chosen food coloring.
Step 3: Decorating Like a Pro
Now comes the fun part—turning your cake into a spooky masterpiece.
Spider Web Design
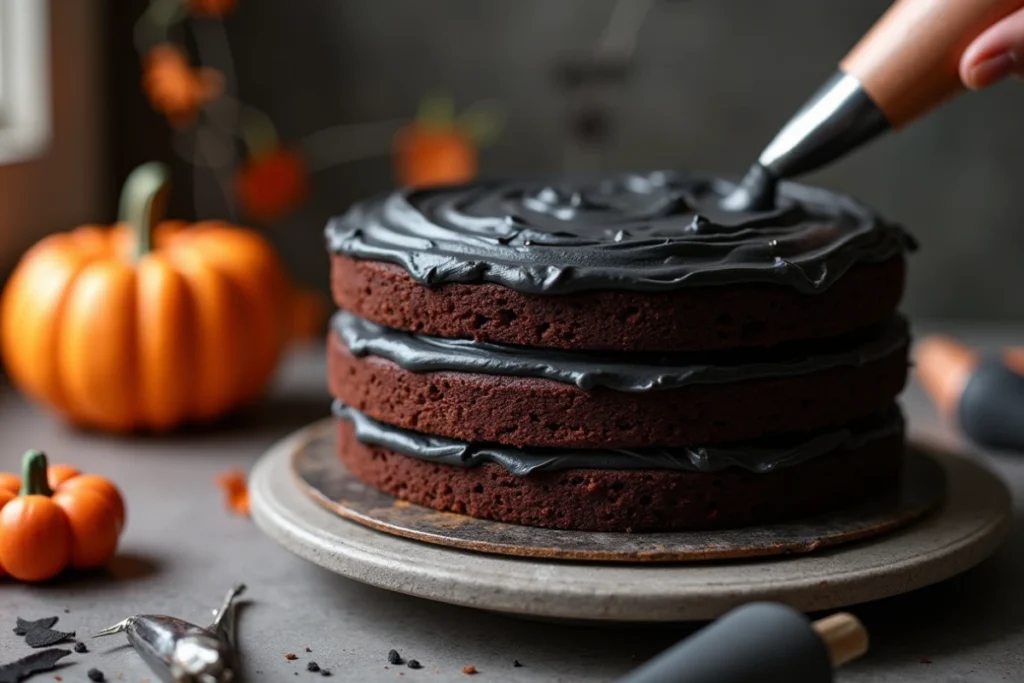
- Frost your cake with a base layer of black buttercream.
- Use white buttercream to pipe concentric circles on the top.
- Drag a toothpick through the circles from the center outward to create a web effect.
- Add candy spiders for a creepy final touch.
Haunted Graveyard Cake
- Cover your cake with dark chocolate frosting.
- Crumble chocolate cookies to create edible “dirt.”
- Add cookie tombstones, candy skeletons, and fondant ghosts for a graveyard look.
Dripping Blood Effect
- Pour red-colored ganache over the top of your cake, allowing it to drip naturally down the sides.
- Use a knife or piping bag to create jagged edges for an extra eerie effect.
Tips for Assembling the Cake
- Level the Layers: Use a serrated knife to trim the tops of your cake layers, ensuring they stack evenly.
- Chill Before Frosting: Place the cake in the refrigerator for 15-20 minutes to make frosting easier.
- Use a Cake Turntable: This tool makes it simple to apply frosting and decorations evenly.
Conclusion: A Cake That’s Scarily Good
Making a spooky Halloween cake at home is an enjoyable and rewarding experience. From picking a theme to adding the final decorative touches, you’ll create a dessert that’s both a visual masterpiece and a delicious treat. So grab your ingredients, unleash your creativity, and get ready to impress your guests with a cake that screams Halloween fun.
Ready to share your creation? Post a photo of your spooky Halloween cake on social media and tag us—we’d love to see your edible art!
Frequently Asked Questions (FAQs)
Can I make a Halloween cake without food coloring?
Absolutely! Natural alternatives like beet powder, matcha, or cocoa powder can add color without artificial dyes.
How early can I prepare my Halloween cake?
The cake layers can be baked up to two days ahead and kept fresh in an airtight container. Decorate the day of your event for the freshest look.
What’s the most effective way to transport a decorated cake?
Place your cake in a sturdy box and secure it with non-slip padding. Drive carefully and avoid sudden stops.
