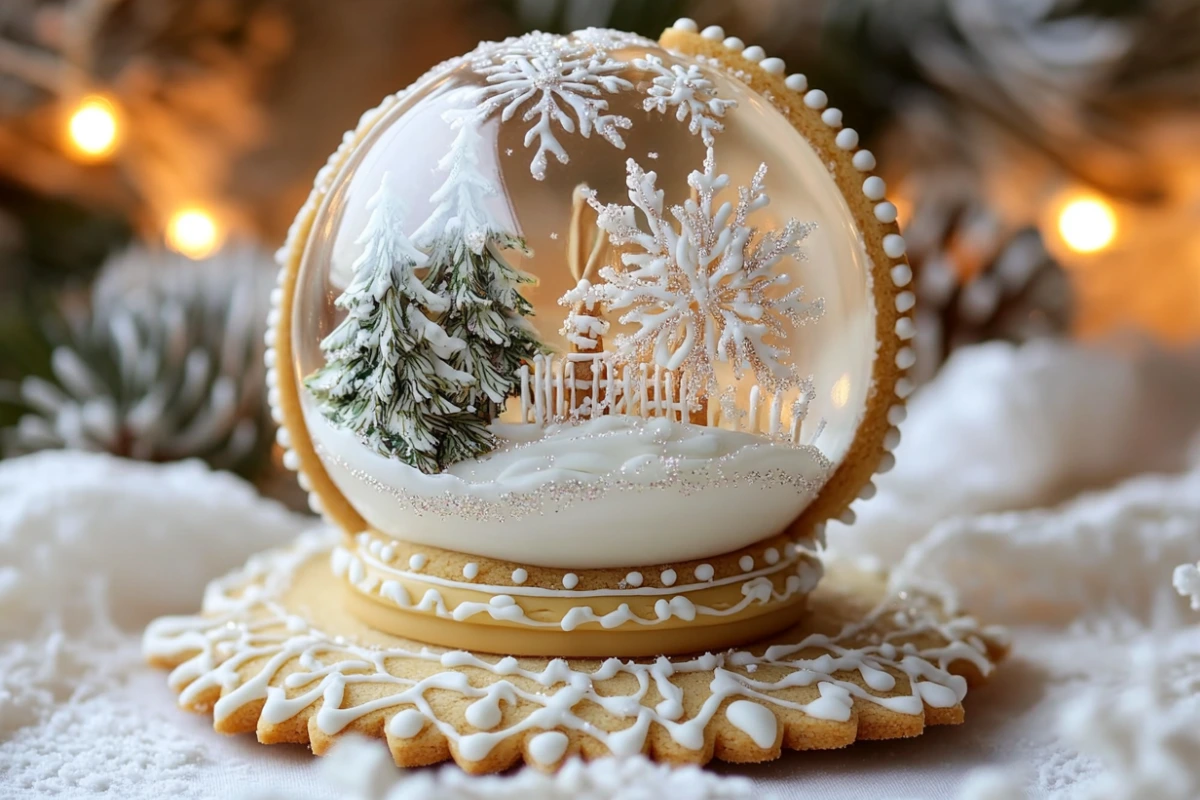
There’s something magical about snow globes. They evoke childhood wonder and holiday cheer, sparking a sense of nostalgia that’s hard to replicate. Imagine transforming that charm into a delightful treat—snow globe cookies. These intricate edible masterpieces aren’t just desserts; they’re a unique way to bring creativity to your holiday celebrations. Snow globe cookies capture the spiriseason’s spirit with their whimsical design, clear globe-like tops, and festive decorations inside, making them a true show-stopper on any dessert table. Whether you’re a seasoned baker or just starting, this guide will walk you through every step to create these mesmerizing cookies. Let’s dive into the details and turn your baking session into a magical experience!
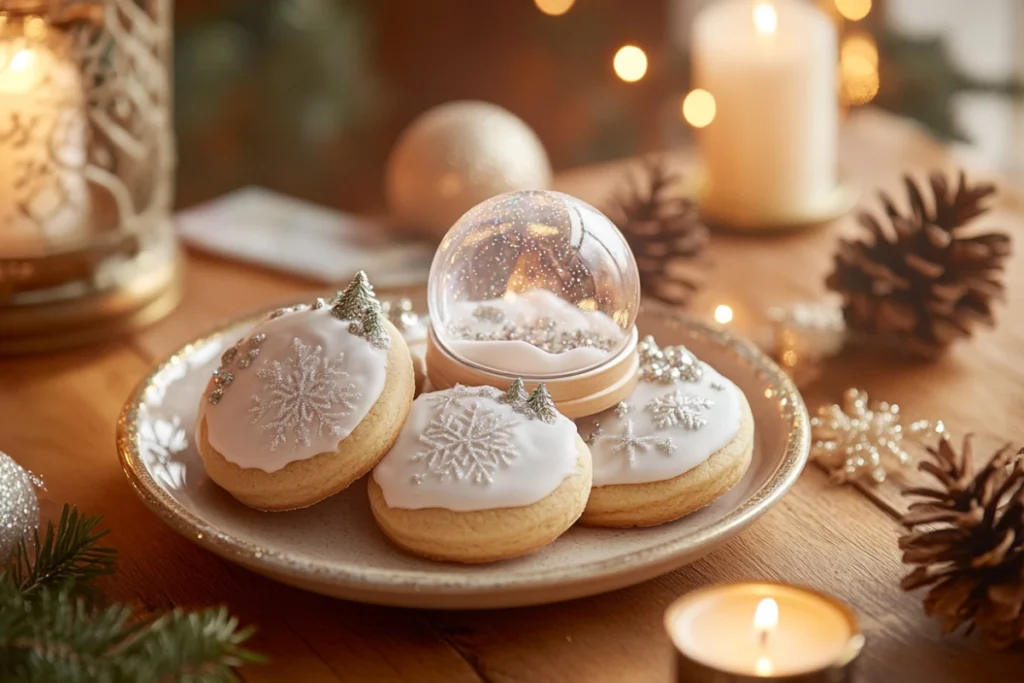
Table of Contents
What Are Snow Globe Cookies?
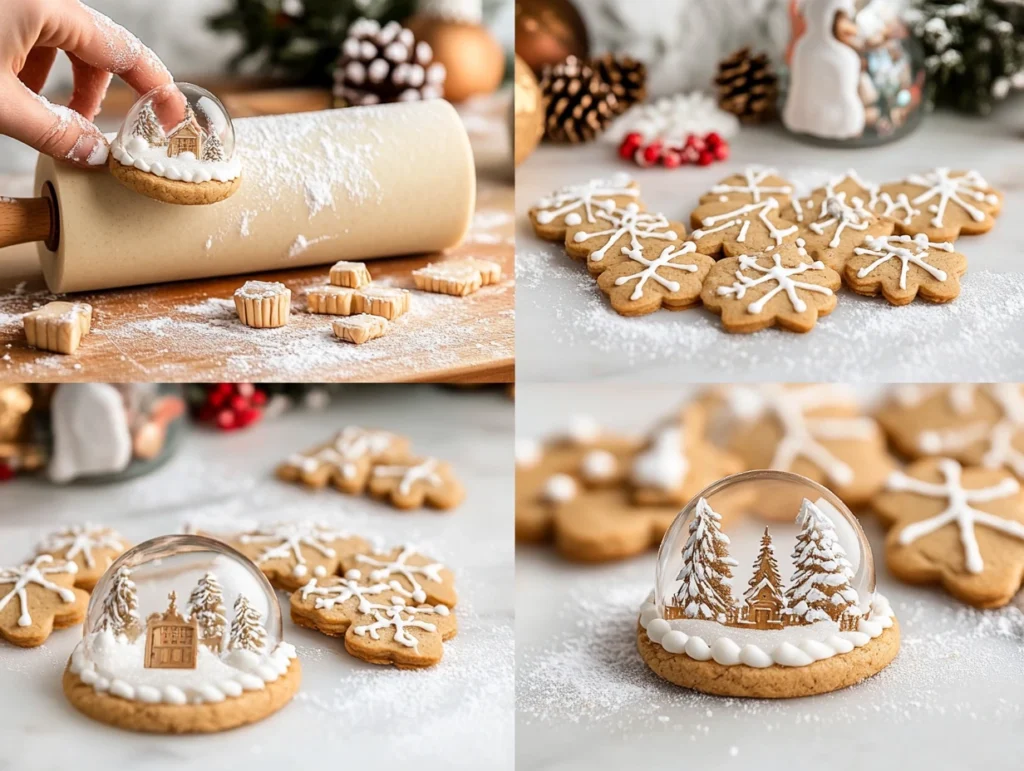
Snow globe cookies are a delightful and festive treat, perfect for holiday seasons and special occasions. These cookies are beautifully decorated to resemble the enchanting world of a snow globe, capturing the winter wonderland theme with intricate details and a touch of magic. Typically, snow globe cookies feature a cookie base shaped like a snow globe, often made from sugar or shortbread dough. The cookies are then decorated with royal icing, fondant, and edible glitter, creating a stunning effect that mimics the swirling snow inside a glass globe.
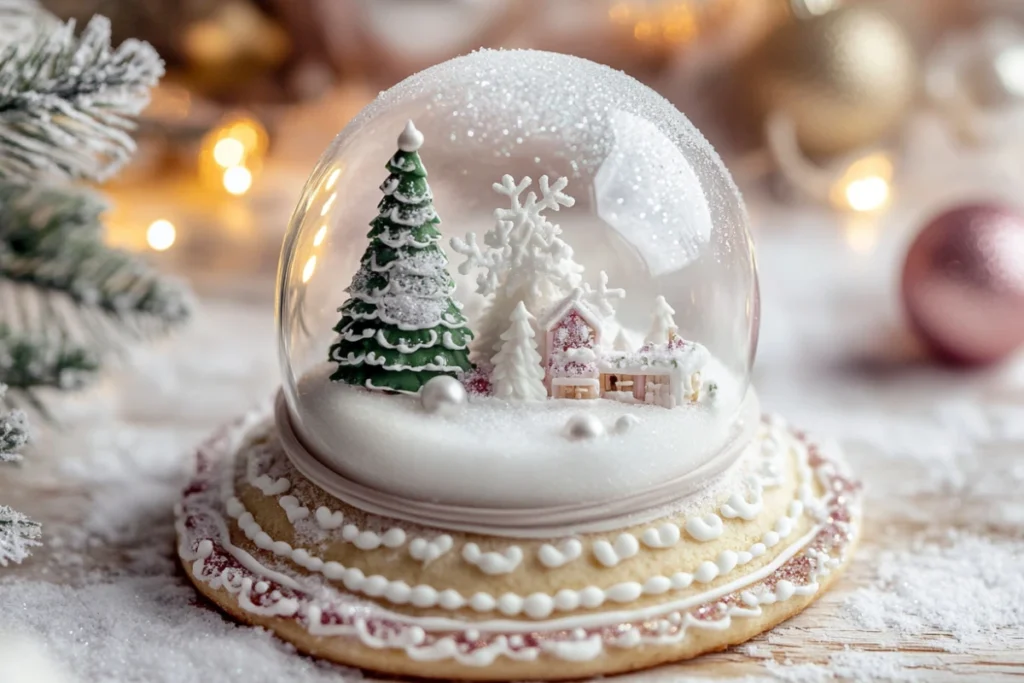
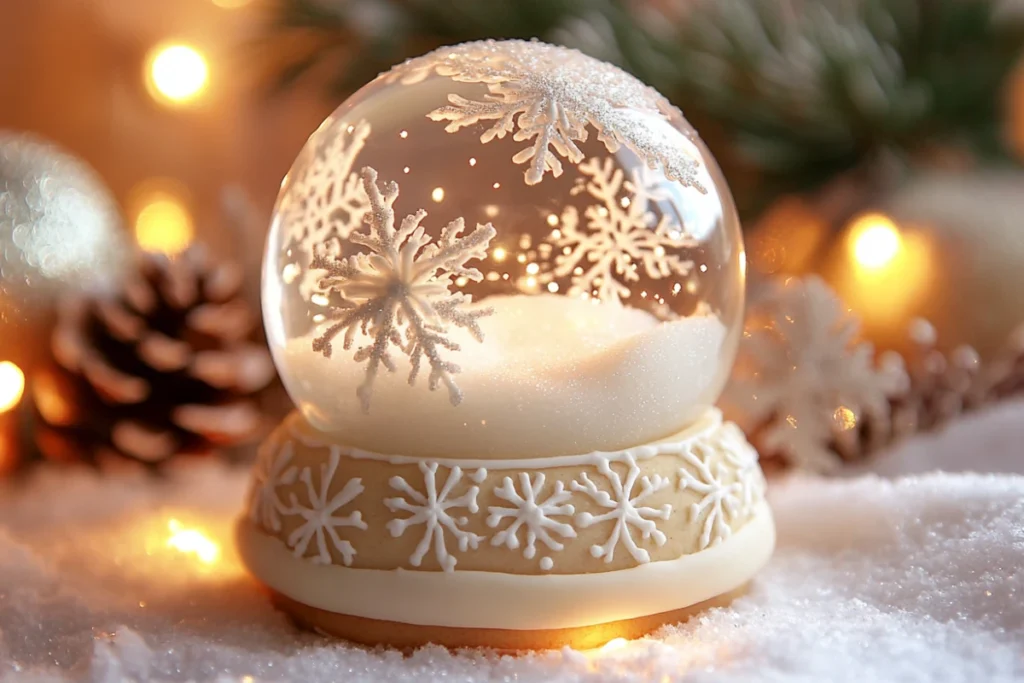
What makes snow globe cookies truly special is their design: the cookie top is often adorned with a scene that could include snowflakes, a miniature winter scene, or even a Christmas tree, all surrounded by the illusion of snow. These cookies are often topped with a transparent layer that resembles the “glass” of the snow globe, giving them a 3D look and making them appear as though they could come to life in a snowy world.
Why Are Snow Globe Cookies So Popular?
Snow globe cookies have become increasingly popular due to their whimsical charm and versatility. They’re a fun way to share the joy of the winter season with friends, family, and guests. Whether as party favors, Christmas treats, or a part of a holiday cookie platter, these cookies are both visually striking and delicious. Their eye-catching appearance makes them a conversation starter, while their sweet, buttery flavor ensures they are a hit at any event.
These cookies are not just limited to Christmas. With creativity, snow globe cookies can be adapted for various winter-themed events, from New Year’s parties to winter weddings, making them a favorite treat for any occasion where you want to celebrate the beauty of winter.
Essential Tools and Ingredients for Snow Globe Cookies
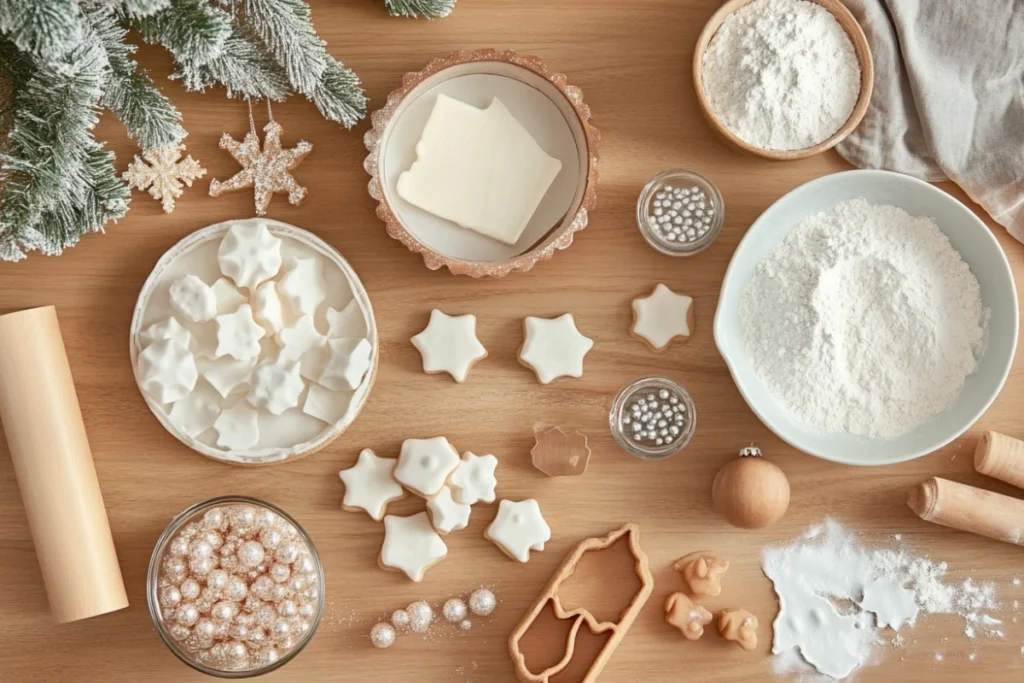
Creating the perfect snow globe cookie requires the right tools and ingredients to bring your winter wonderland vision to life. Here’s a breakdown of everything you’ll need to create stunning snow globe cookies that are as visually appealing as they are delicious.
Tools You’ll Need
To craft your snow globe cookies, having the proper tools is crucial for achieving the best results and ensuring that your cookies look like miniature snow globes.
- Cookie Cutters: Round or globe-shaped cookie cutters are essential for the base of your snow globe cookies. These shapes will give you the perfect round outline to represent the “globe” portion of the cookie. For added detail, some bakers opt for specialty cutters that feature a decorative snow globe design, which can make your cookies even more festive.
- Rolling Pin: A rolling pin is indispensable for rolling out the dough evenly. This is important for ensuring that all of your snow globe cookies bake uniformly. An even thickness is key to achieving the ideal texture and look for your cookies.
- Parchment Paper: Parchment paper helps prevent your snow globe cookies from sticking to the baking tray and ensures an easy cleanup. It also prevents the cookies from over-browning and can be reused for multiple batches, which is especially useful when baking many cookies for holiday parties or events.
- Baking Tray: A sturdy baking tray is essential for even heat distribution. Using a baking tray with a smooth, flat surface allows your snow globe cookies to bake evenly, creating that perfect, crisp cookie base that holds up well to the decorative icing and is sturdy enough to support the transparent globe effect.
- Clear Isomalt or Gelatin Sheets: To replicate the “glass” part of the snow globe, clear isomalt or gelatin sheets are often used. These ingredients create a transparent, shiny layer that mimics the glass of a snow globe. Using these materials will give your snow globe cookies a beautiful, authentic look that will impress your guests.
- Icing Tools: Piping bags and a variety of tips are essential for decorating snow globe cookies with fine detail. You’ll need piping bags to apply royal icing, which will form the base for your winter scenes inside the “globe.” Fine tips are ideal for creating delicate snowflakes, trees, or other intricate designs that will make your cookies stand out. Using different colors of icing allows you to bring your snow globe cookies to life with colorful, festive accents.
Ingredients for Snow Globe Cookies
In addition to the tools, selecting the right ingredients is crucial for the taste and texture of your snow globe cookies. The dough should be soft but firm enough to hold its shape after baking. Royal icing or fondant is commonly used to create decorative elements, including the snow globe “glass” and the snowflakes or festive scenes inside. Edible glitter, sugar pearls, and other decorative elements can also be used to add a touch of sparkle and shine to your snow globe cookies.
Ingredients:
Here’s a handy reference table for all the essentials you’ll need:
| Ingredient | Quantity |
| All-purpose flour | 3 cups |
| Unsalted butter | 1 cup (softened) |
| Granulated sugar | 1 cup |
| Vanilla extract | 1 tsp |
| Egg | 1 large |
| Baking powder | 1 tsp |
| Salt | 1/4 tsp |
| Isomalt/Gelatin Sheets | As needed |
| Royal icing | Various colors |
| Sprinkles or edible glitter | For decoration |
Having these tools and ingredients ready will make the process seamless and enjoyable.
Step-by-Step Guide to Making Snow Globe Cookies
Step 1: Preparing the Dough
- Cream the Butter and Sugar: In a large bowl, beat the softened butter and sugar until the mixture is light and fluffy. This step ensures a tender cookie base.
- Incorporate the wet ingredients: Stir in the egg and vanilla extract until fully combined.
- Mix the dry ingredients: In a separate bowl, whisk the flour, baking powder, and salt together. Gradually add this mixture to the wet ingredients, stirring until the dough forms.
- Refrigerate the dough: Wrap the dough in plastic wrap and chill it in the fridge for at least 1 hour. This step makes the dough easier to handle and helps the cookies retain their shape during baking.
Step 2: Cutting and Baking the Cookies
- Roll Out the Dough: On a floured surface, roll out the chilled dough to about 1/4-inch thickness.
- Cut-Out Shapes: Use round cookie cutters to cut out bases and tops. For the tops, use a smaller cutter to create a circular cut-out in the center.
- Bake: Place the cookies on a parchment-lined baking tray and bake at 350°F (175°C) for 8-10 minutes or until the edges are lightly golden. Let the cookies cool completely.
Step 3: Creating the Globe Effect
- Melt the Isomalt: If using isomalt, heat it according to package instructions and pour it onto a silicone mat to form clear discs. For gelatin sheets, simply cut them into circles that fit the cookie tops.
- Cool and Harden: Allow the isomalt discs to cool completely before handling.
Step 4: Decorating and Assembling
- Decorate the Cookie Base: Use royal icing to create a snowy landscape or holiday-themed decorations on the cookie bases. Add sprinkles or edible glitter for extra flair.
- Assemble the Globe: Place the clear isomalt or gelatin sheet over the decorated base. Attach it securely using a small amount of royal icing as an adhesive.
- Add Finishing Touches: Pipe decorative icing around the edges of the globe to seal it and enhance the look.
Pro Tips for Perfect Snow Globe Cookies
- Chill Your Dough: Keeping the dough cold prevents spreading and ensures clean, sharp edges.
- Work Quickly with Isomalt: Isomalt hardens fast, so have everything ready before you start.
- Create Depth in Designs: Use layers of royal icing to add dimension to your decorations.
- Light Up the Globe: Insert a small LED light under the cookie for a magical glow.
Conclusion
Creating snow globe cookies is more than just baking—it’s an opportunity to bring a little extra magic to your holiday traditions. These cookies are a stunning centerpiece, a thoughtful gift, or simply a sweet treat to share with loved ones. With this step-by-step guide, you’re all set to craft these enchanting cookies. Put on your apron and let your creativity flow. The magic of snow globe cookies awaits!
Ready to share your creations? Post your snow globe cookies on social media and tag us for a chance to be featured. Let’s spread the holiday cheer together!
Frequently Asked Questions
How do I store snow globe cookies?
Store them in an airtight container at room temperature to keep them fresh and prevent the isomalt from becoming sticky.
Can I make snow globe cookies without isomalt?
Yes! Gelatin sheets are an excellent alternative for the clear globe effect.
How long do snow globe cookies last?
Snow globe cookies can last up to 2 weeks if stored properly. For the best freshness, it’s recommended to enjoy them within the first week.
Are snow globe cookies safe for kids?
Absolutely! While isomalt is safe to eat, younger children should be supervised due to its brittle texture.
