Table of Contents
Introduction
Hello Kitty has been a beloved icon for decades, bringing joy to fans of all ages with its adorable design and timeless charm. Whether you are planning a birthday party or a themed celebration or simply want to surprise a Hello Kitty fan, a beautifully decorated Hello Kitty cake is the perfect centerpiece. With its signature pink bow, cute whiskers, and sweet expression, this cake is not just a dessert—it’s a delightful work of art.
Creating a Hello Kitty cake may seem challenging, especially if you’re new to baking and decorating. But don’t worry! With the right ingredients, tools, and step-by-step guidance, you can make a stunning Hello Kitty cake at home without needing professional baking skills. Whether you prefer buttercream or fondant, a simple round cake or a detailed 3D design, there are plenty of ways to customize your cake to match your creativity and skill level.
In this blog post, we’ll walk you through everything you need to know to create an eye-catching Hello Kitty cake. From selecting the best cake base and frosting to shaping and decorating the iconic Hello Kitty face, we’ll cover all the essential steps. You’ll also discover creative design ideas, expert tips for achieving a flawless finish, and troubleshooting advice to avoid common mistakes.
So, if you’ve been searching for the best Hello Kitty cake recipe or wondering how to make a Hello Kitty cake at home, you’re in the right place! Follow along as we guide you through the process with simple yet effective cake decorating techniques that will leave your guests impressed. Whether you’re making this cake for a child’s birthday, a baby shower, or just for fun, this guide will help you bring Hello Kitty to life in the most delicious way.
Essential Ingredients & Tools for a Hello Kitty Cake
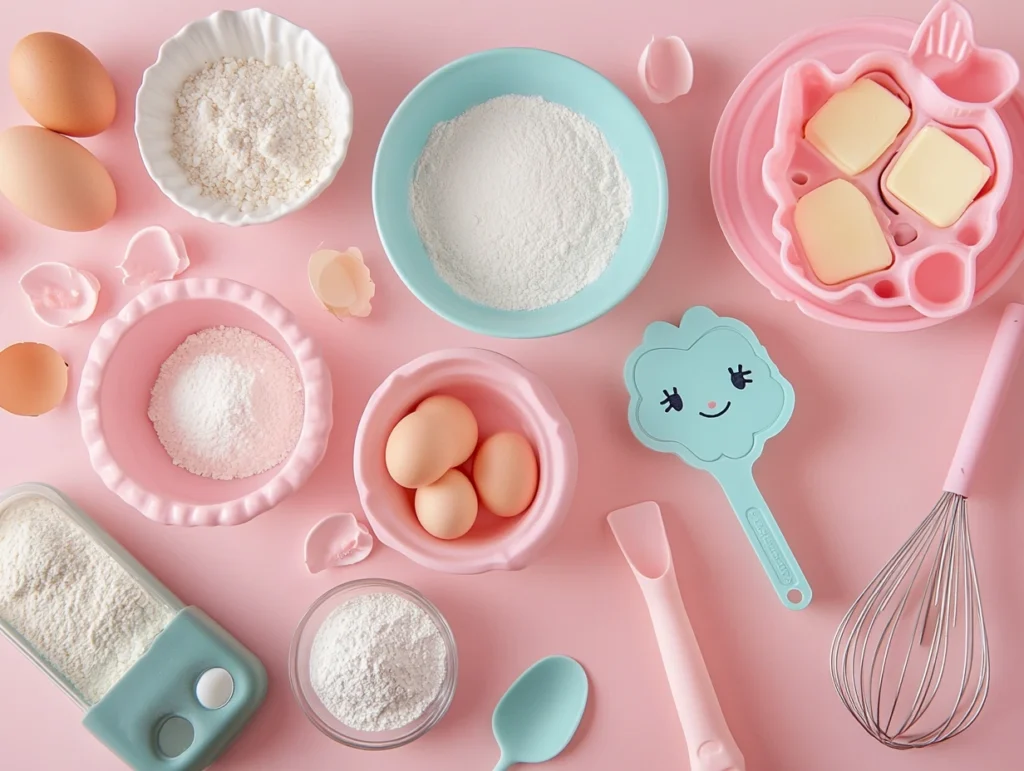
Before you start baking your Hello Kitty cake, gathering the right ingredients and tools is essential. Whether you’re making a simple round cake with a Hello Kitty face or a detailed 3D version, having everything prepared will make the process much smoother. Below, we’ll break down the main ingredients, baking tools, and decorating materials you’ll need to create a stunning Hello Kitty cake.
Main Ingredients
To make a delicious and fluffy Hello Kitty cake, you’ll need the right base, frosting, and decorations. Here’s a breakdown of the essential ingredients:
| Ingredient | Purpose |
| Vanilla Sponge Cake | Form the base of your cake (can be homemade or store-bought). |
| Buttercream Frosting | Used for coating the cake and adding smooth layers before decorating. |
| Fondant | Helps create Hello Kitty’s face and details like the bow and whiskers. |
| Food Coloring (Pink, Black, Yellow, Red) | Used to color the fondant and buttercream for accurate Hello Kitty details. |
| Powdered Sugar | Helps with rolling out fondant and prevents sticking. |
| Milk or Heavy Cream | Adjust the frosting consistency. |
| Vanilla Extract | Enhances the flavor of the cake and frosting. |
| Eggs, Flour, Sugar, Baking Powder, Butter | Basic cake ingredients for a homemade sponge. |
Baking Tools
Using the right tools ensures a smooth baking and decorating experience. These tools help with mixing, shaping, and assembling your Hello Kitty cake.
| Tool | Function |
| Cake Mold or Round Cake Pans | A Hello Kitty-shaped mold can make the process easier. |
| Piping Bag & Nozzles | Essential for decorating with buttercream and adding fine details. |
| Spatula & Bench Scraper | Helps spread buttercream evenly for a smooth finish. |
| Rolling Pin | Used to roll out fondant to cover the cake. |
| Cake Stand | Makes it easier to decorate and rotate the cake. |
| Offset Spatula | Helps spread and smooth out frosting. |
| Sharp Knife or Fondant Cutter | Used to cut fondant into precise shapes for Hello Kitty’s face. |
| Mixing Bowls & Electric Mixer | For preparing cake batter and buttercream frosting. |
Decorating Materials
Now that you have your cake and frosting ready, it’s time to bring Hello Kitty to life with adorable decorations. Here are the key materials you’ll need for decorating:
| Material | Use |
| Pink & White Fondant | Used for covering the cake and creating Hello Kitty’s bow. |
| Black Fondant or Edible Black Gel | Forms Hello Kitty’s whiskers, eyes, and nose outline. |
| Yellow Fondant or Candy | Used for Hello Kitty’s nose. |
| Sprinkles & Edible Pearls | Adds extra decoration to make the cake more visually appealing. |
| Edible Glitter or Luster Dust | Gives a professional and shiny finish to the cake. |
| Gel Food Coloring | Helps achieve vibrant colors without affecting the fondant texture. |
| Edible Markers | It can be used for fine details like whiskers or expressions. |
Final Preparations Before Baking
Once you’ve gathered all your ingredients, tools, and decorations, here are a few pro tips to help you get started:
✔ Preheat your oven and grease your cake mold for easy cake release.
✔ Prepare your fondant colors in advance to save time during decorating.
✔ Use a turntable cake stand for smooth frosting application.
✔ Refrigerate the cake for 20-30 minutes before decorating to prevent crumbs.
With everything in place, you’re now ready to start baking your adorable Hello Kitty cake! In the next section, we’ll guide you through the step-by-step process of baking and assembling the cake. 🎀🍰
Step-by-Step Hello Kitty Cake Recipe
Now that you have all your ingredients and tools ready, it’s time to bring your Hello Kitty cake to life! Whether you’re a beginner or an experienced baker, this step-by-step guide will help you create a stunning and delicious cake that looks just as amazing as it tastes. Follow these simple instructions to bake, shape, and decorate your cake like a pro.
Step 1: Baking the Cake Base
The first step in making a Hello Kitty cake is choosing the right cake flavor. Vanilla, chocolate, and strawberry are the most popular options as they provide a soft yet sturdy texture that holds up well when shaped and decorated.
Ingredients for the Cake Base:
- 2 ½ cups all-purpose flour
- 2 ½ tsp baking powder
- 1 cup unsalted butter (softened)
- 1 ¾ cups granulated sugar
- 4 large eggs
- 1 cup milk
- 2 tsp vanilla extract (or strawberry/chocolate flavoring)
- A pinch of salt
Instructions:
- Preheat the oven to 350°F (175°C) and grease your cake mold or baking pans.
- In a bowl, whisk the flour, baking powder, and salt together. Set aside.
- In a separate bowl, beat the butter and sugar until light and fluffy.
- Add the eggs one at a time, mixing thoroughly after each addition.
- Mix in the dry ingredients with the milk and vanilla extract, alternating.
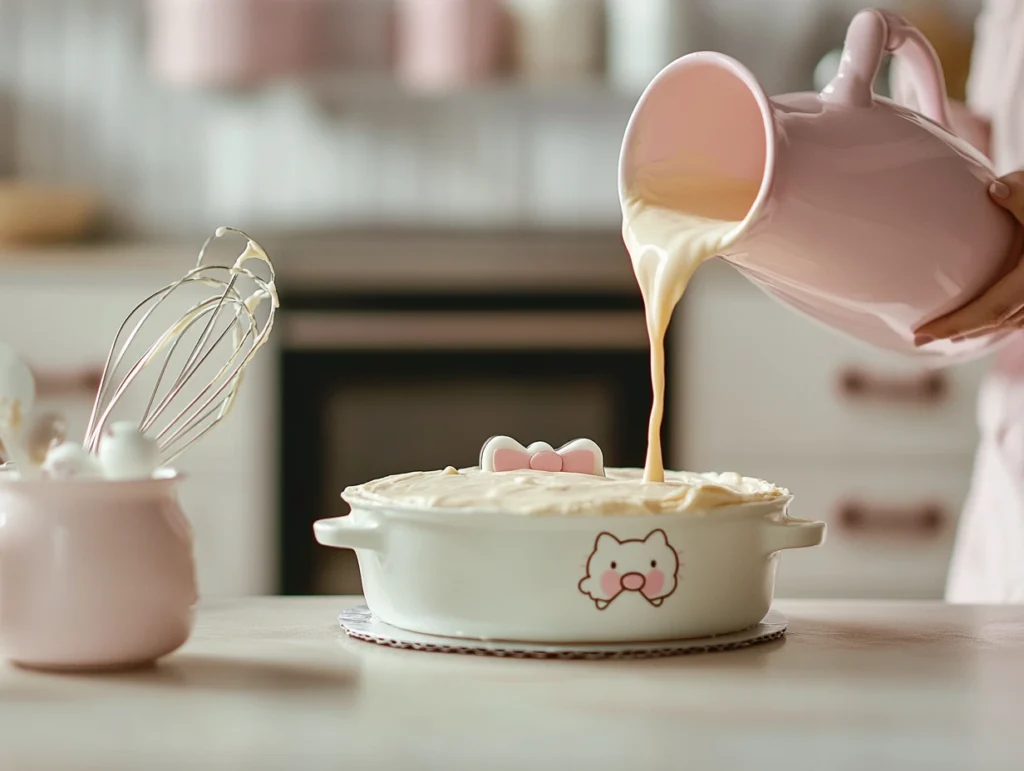
- Transfer the batter into the prepared cake pan, whether using a Hello Kitty-shaped mold or round pans.
- Bake for 30-35 minutes or until a toothpick inserted into the center comes out dry.
- Let the cake cool completely before shaping and decorating.
Step 2: Preparing the Frosting & Fondant
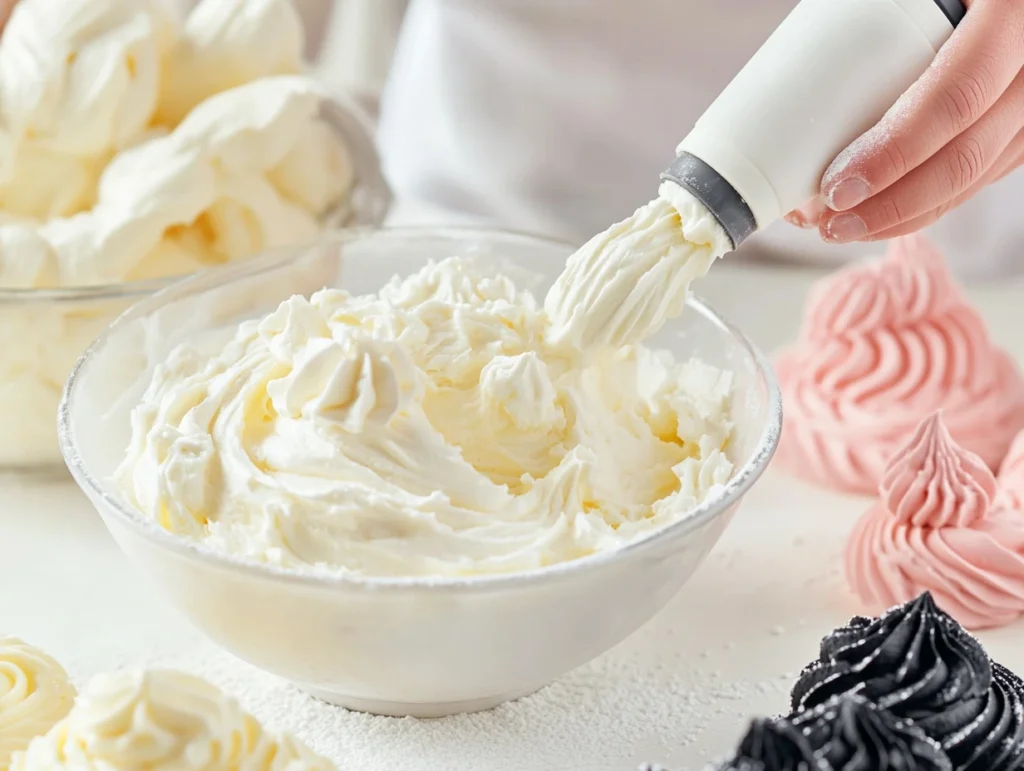
For a smooth and flawless finish, buttercream frosting and fondant play a crucial role in decorating your Hello Kitty cake.
Buttercream Frosting Recipe:
- 1 cup unsalted butter (softened)
- 4 cups powdered sugar
- 2-3 tbsp milk or heavy cream
- 1 tsp vanilla extract
Instructions:
- In a bowl, beat the butter until creamy.
- Slowly incorporate the powdered sugar, mixing well after each addition.
- Pour in milk and vanilla extract, then beat until smooth and fluffy.
Coloring the Fondant:
To achieve Hello Kitty’s signature colors, you’ll need pink, black, and yellow fondant.
- Pink Fondant → For the bow
- Black Fondant or Edible Gel → For the whiskers and eyes
- Yellow Fondant or Candy → For the nose
Take white fondant and knead in a small amount of food coloring until the color is evenly distributed. Roll out the fondant on a powdered sugar-dusted surface to prevent sticking.
Step 3: Shaping the Cake
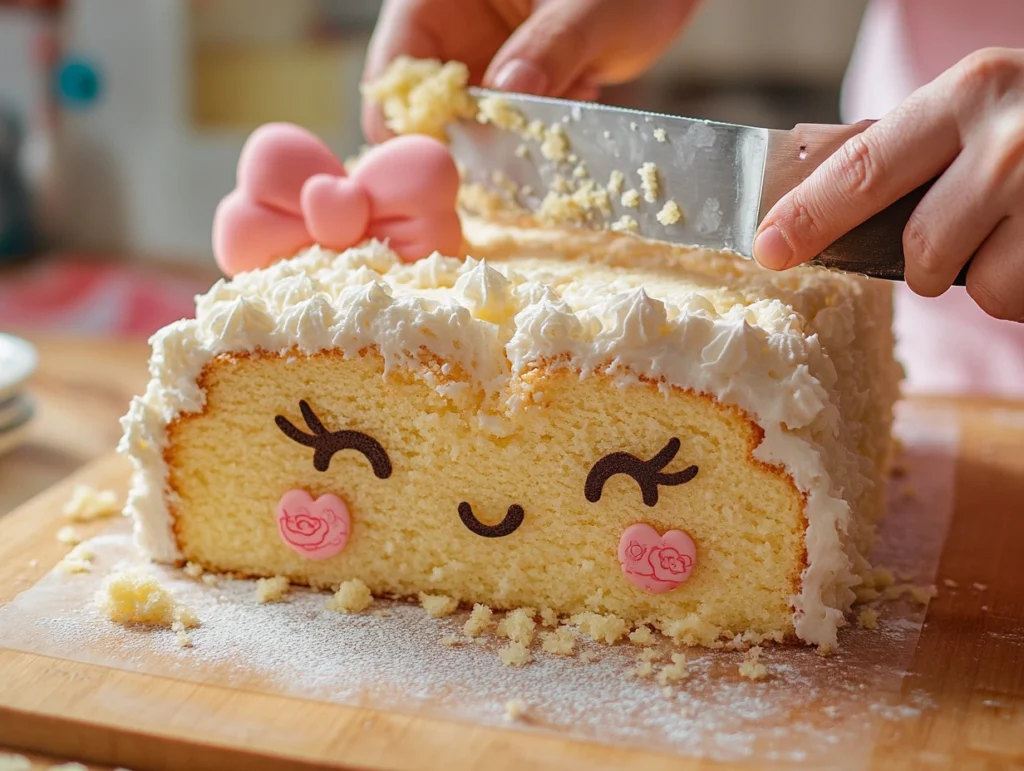
If you’re using a Hello Kitty cake mold, this step is easy. However, if you’re working with a round cake, follow these steps to carve the shape:
- Print a Hello Kitty face outline and cut it out.
- Place the stencil over your cooled round cake and trace the shape using a knife.
- Carefully trim the cake to form the Hello Kitty head.
- Save any leftover cake pieces to create the ears or add height.
Once shaped, brush off the crumbs and place the cake on a turntable or cake board.
Step 4: Assembling & Applying the Base Frosting
Before adding decorations, the cake needs a crumb coat (a thin layer of buttercream that locks in crumbs and smoothens the surface).
Steps to Assemble the Cake:
- If you have multiple cake layers, spread buttercream frosting between each layer.
- Apply a thin crumb coat all over the cake and refrigerate for 20-30 minutes.
- Once set, apply a final layer of frosting for a smooth finish.
- Roll out white fondant and gently cover the cake, smoothing out any wrinkles.
Now your cake is ready for the final Hello Kitty details! In the next section, we’ll cover how to decorate your Hello Kitty cake like a pro with whiskers, eyes, and the iconic pink bow. 🎀🍰
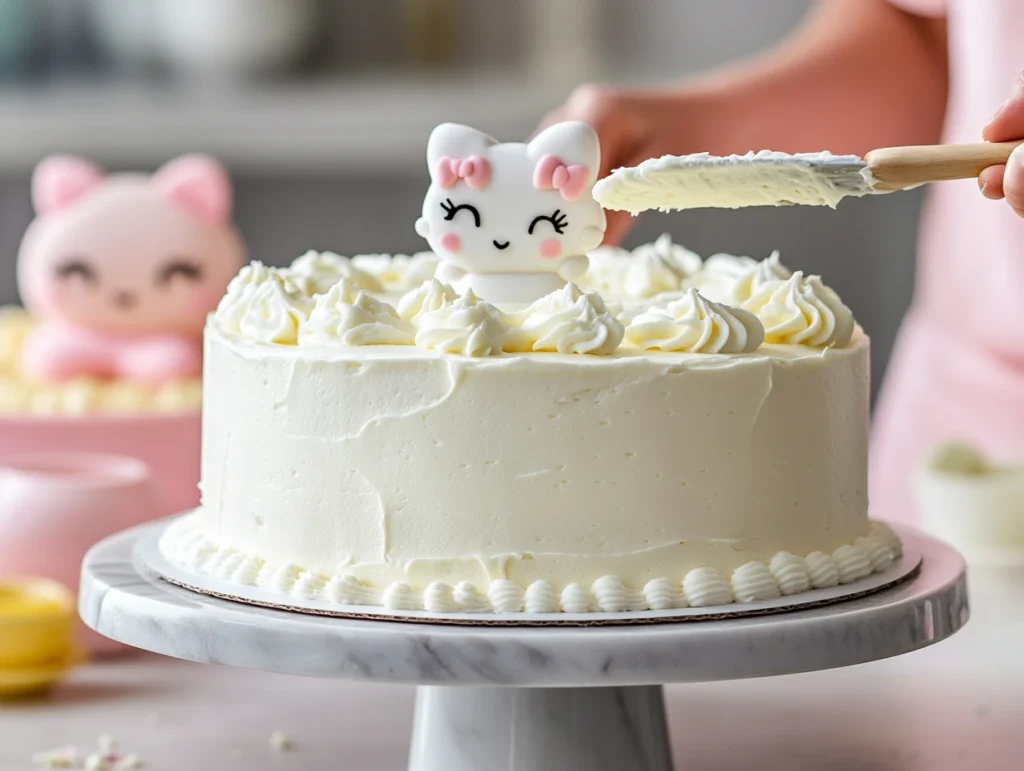
Decorating Your Hello Kitty Cake Like a Pro
Now that your cake is shaped, frosted, and covered in smooth fondant, it’s time for the most exciting part—decorating! Hello Kitty’s simple yet adorable design makes it a perfect cake for any occasion. In this section, we’ll walk you through creating the face details, shaping the bow, and adding final touches to make your cake truly stand out.
Step 1: Creating the Face Details
Hello Kitty’s face is iconic, with minimal yet expressive features. You’ll need black fondant (or edible gel), yellow fondant, and pink fondant to bring her face to life.
Materials Needed:
- Black fondant or edible gel – for the eyes and whiskers
- Yellow fondant or candy – for the nose
- Pink fondant – for the bow
- Small round cutters or a knife
Shaping the Eyes, Nose, and Whiskers
- Eyes:
- Roll out black fondant and cut two small ovals for the eyes.
- If using edible gel, pipe two oval shapes directly onto the fondant-covered cake.
- Place the eyes evenly apart, slightly below the center of the cake.
- Nose:
- Roll a small ball of yellow fondant and gently press it into an oval shape.
- Position it between and slightly below the eyes.
- Whiskers:
- Roll out thin strips of black fondant or pipe three short black lines on each side of the face.
- Ensure the whiskers are evenly spaced and slightly curved for a natural look.
🎀 Pro Tip: Use a small amount of edible glue or water to attach fondant details securely to the cake.
Step 2: Perfecting the Bow & Accessories
Hello Kitty’s bow is her signature accessory, making it one of the most important decorations on your cake. You can create it using pink fondant or use a large candy bow for an easy alternative.
How to Make the Fondant Bow:
- Roll out the pink fondant into a smooth sheet (about ¼-inch thick).
- Cut out two equal-sized oval shapes for the bow loops.
- Pinch the center of each oval and fold the edges slightly inward to create a realistic bow effect.
- Cut a small strip of fondant and wrap it around the center of the bow to form the knot.
- Let the bow dry for 10-15 minutes so it holds its shape.
- Attach the bow above one ear using edible glue or a small dab of buttercream.
🎀 Alternative Bow Ideas:
- Use candy melts or chocolate to pipe a bow shape instead of fondant.
- Stick a pre-made sugar bow or edible glitter bow for extra sparkle.
Step 3: Final Touches for a Stunning Look
To elevate your Hello Kitty cake from cute to professional-looking, add some fun finishing touches!
Extra Decoration Ideas:
| Decoration | Effect |
| Edible Glitter or Luster Dust | Adds a shimmering effect to the bow or whiskers. |
| Pearl Sprinkles | Enhances the bow or cake edges for an elegant look. |
| Buttercream Ruffles | Creates a soft, girly border around the cake. |
| Pink or White Drizzle | Adds a trendy, playful touch to the design. |
| Custom Name Topper | Personalize the cake for birthdays or special occasions. |
Final Steps Before Serving:
- Gently brush off excess powdered sugar from the fondant.
- Refrigerate the cake for 10-15 minutes before serving to set the decorations.
- Place your cake on a decorative cake stand for a picture-perfect presentation.
🎀 Pro Tip: If your cake is for a special event, prepare it a day in advance and store it in a cool, dry place to maintain its freshness.
With all these beautiful details in place, your Hello Kitty cake is now ready to impress! Whether it’s for a birthday, party, or just a fun baking project, this cake is sure to bring smiles to everyone who sees (and tastes) it. In the next section, we’ll cover some expert tips and troubleshooting to ensure your Hello Kitty cake turns out perfect every time. 🍰✨
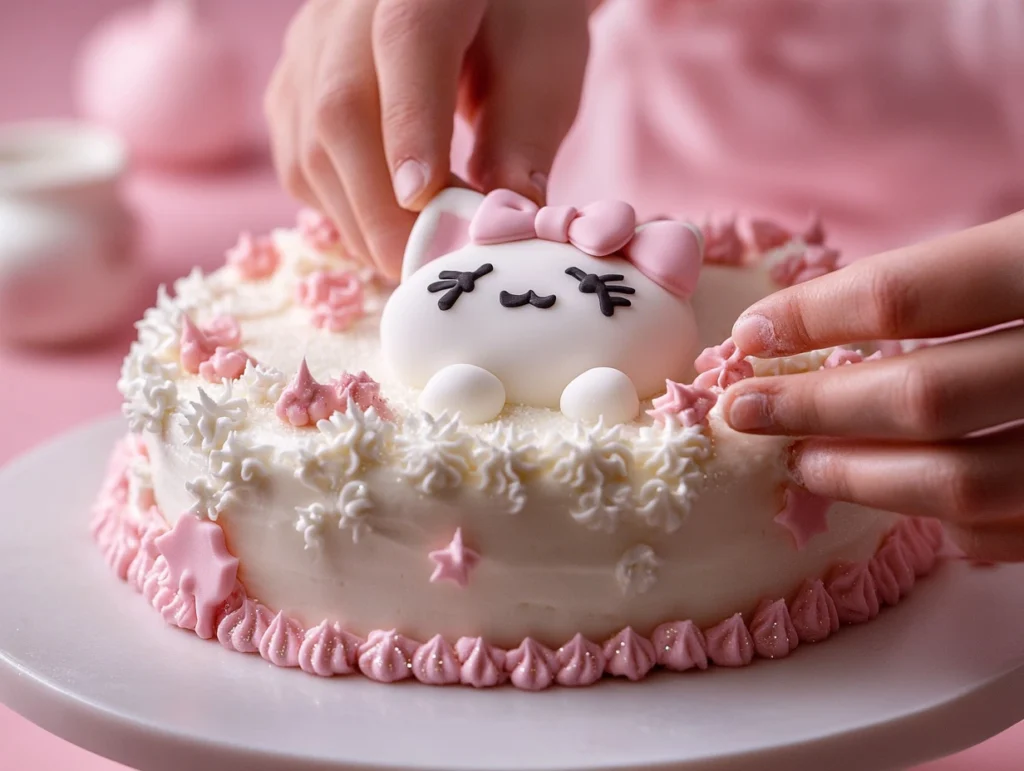
Cute & Creative Hello Kitty Cake Design Ideas
Once you’ve mastered the basic Hello Kitty cake, why not take your creativity to the next level? There are countless ways to decorate and customize your cake to fit different themes, occasions, and preferences. In this section, we’ll explore some cute and creative Hello Kitty cake ideas, from the classic pink version to 3D designs and themed variations that add a unique touch.
1. Classic Pink Hello Kitty Cake
This is the most popular Hello Kitty cake design, featuring her signature pink bow, white face, and adorable whiskers. It’s a great choice for birthdays, baby showers, and themed parties.
How to Achieve the Classic Look:
- Use smooth white fondant to cover the cake for a clean, polished appearance.
- Make black fondant eyes and whiskers, a yellow fondant nose, and a pink bow for decoration.
- Use buttercream frosting in pastel pink to add decorative ruffles or piping along the cake’s edges.
- For an extra touch, add edible glitter or pearl sprinkles to give the cake a dazzling effect.
🎀 Pro Tip: If you don’t want to use fondant, pipe the details using black and pink buttercream with fine-tip piping nozzles.
2. 3D Hello Kitty Cake (Standing Cake Design)
For an advanced baking challenge, you can create a 3D Hello Kitty cake that stands upright, making it an absolute showstopper. This cake is perfect for big celebrations where you want to impress guests with a lifelike Hello Kitty sculpture.
Steps to Make a 3D Hello Kitty Cake:
| Step | Instructions |
| 1. Bake Multiple Layers | Bake three to four round cakes and stack them with buttercream between layers. |
| 2. Carve the Shape | Use a knife to sculpt Hello Kitty’s body and head, keeping her round face and ears intact. |
| 3. Support the Cake | Insert wooden dowels or cake rods into the structure to keep it from collapsing. |
| 4. Cover with Fondant | Roll out white fondant and gently wrap it around the entire cake. Smooth out any wrinkles. |
| 5. Add Features | Use black fondant for the eyes, yellow for the nose, and pink for the bow. |
| 6. Final Touches | Add details like a dress, paws, or a heart-shaped fondant decoration. |
🎀 Pro Tip: If you want the cake to stand taller, use a round styrofoam base for extra stability underneath the body.
3. Simple Hello Kitty Cupcakes
If you’re looking for a cute, easy, and party-friendly option, Hello Kitty cupcakes are the way to go! They’re perfect for birthday parties, baby showers, or as a fun treat for kids.
Ideas for Hello Kitty Cupcake Designs:
- Buttercream Piped Hello Kitty Face: Use white buttercream to pipe the base, then add black and yellow icing for facial features.
- Fondant Hello Kitty Toppers: Cut out Hello Kitty faces from white fondant and decorate them with a pink bow.
- Mini Cupcake Bows: Top each cupcake with a pink fondant bow and a dusting of edible glitter.
- Hello Kitty Cupcake Wrappers: Use themed cupcake liners with Hello Kitty prints to enhance the design.
🎀 Pro Tip: You can mix and match vanilla, chocolate, and strawberry cupcakes to create a variety of flavors while keeping the theme consistent.
4. Themed Variations (Creative Hello Kitty Cake Styles)
Those who love unique and trendy cake designs can experiment with themed Hello Kitty cake variations. These ideas add an exciting twist to the traditional Hello Kitty cake.
Popular Hello Kitty Cake Ideas:
| Theme | Description |
| Hello Kitty Unicorn Cake 🦄 | Combines a unicorn horn and pastel colors with Hello Kitty’s face. |
| Floral Hello Kitty Cake 🌸 | Decorate with buttercream roses, sugar flowers, and a floral fondant bow. |
| Princess Hello Kitty Cake 👑 | Add a fondant tiara and use gold or pink edible glitter. |
| Halloween Hello Kitty Cake 🎃 | Create a spooky version with black, orange, and white decorations. |
| Christmas Hello Kitty Cake 🎄 | Use red and green colors, candy canes, and a Santa hat topper. |
🎀 Pro Tip: Themed cakes are perfect for holidays and special occasions. Match your design with coordinating cake toppers, sprinkles, and color schemes.
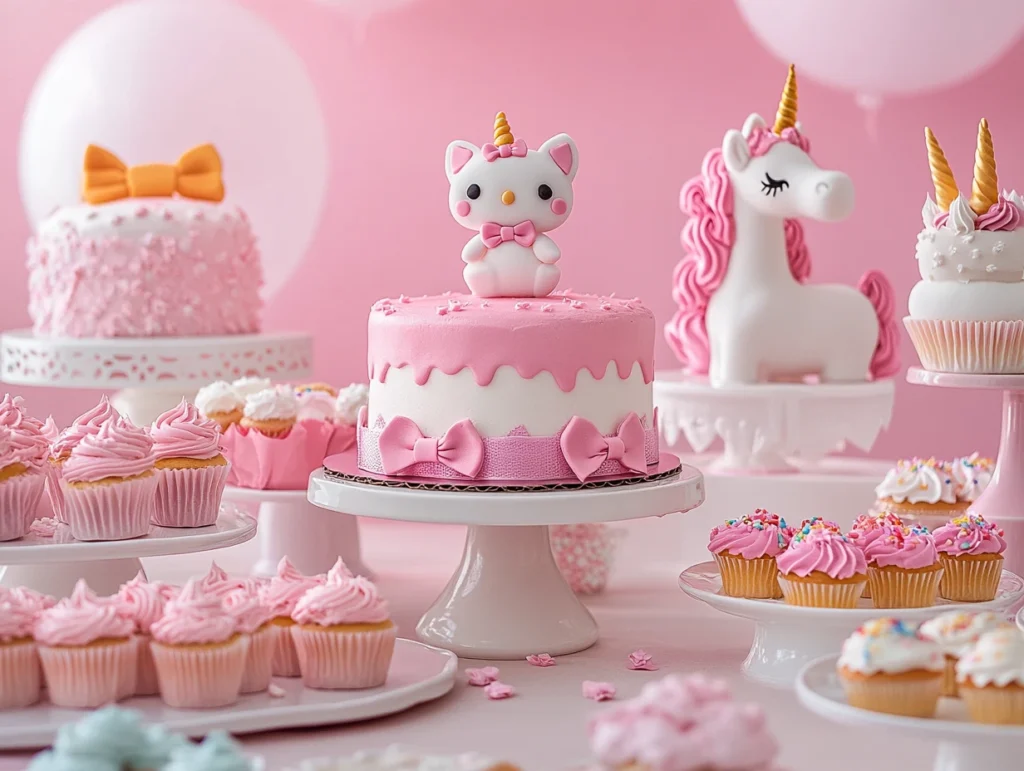
Pro Tips to Make Your Hello Kitty Cake Perfect
Creating a stunning Hello Kitty cake requires attention to detail, patience, and the right techniques. Whether you’re a beginner or an experienced baker, these pro tips will help you perfect your cake, avoid common mistakes, and ensure it stays fresh and beautiful for any occasion.
1. Choosing the Right Colors & Textures
Hello Kitty’s signature look is simple yet striking, with a crisp white face, bold black eyes, and a bright pink bow. Getting the right colors and textures is essential for achieving an authentic design.
How to Achieve the Perfect Hello Kitty Pink
- Use gel-based food coloring for a vibrant, non-fading pink.
- Start with a small amount and gradually add more to avoid an overly dark shade.
- For a soft, pastel pink, mix a drop of red with white buttercream or fondant.
- If using fondant, knead the color in thoroughly to prevent streaks.
Perfecting Textures for a Professional Finish
- Use a fondant smoother to eliminate air bubbles and achieve a flawless surface.
- If working with buttercream, chill the cake between layers to prevent smudging.
- Apply a crumb coat before the final layer of frosting for an even finish.
🎀 Pro Tip: If you want a slight shimmer, dust pearl luster dust over the bow or whiskers for an elegant touch.
2. Avoiding Common Mistakes
Even experienced bakers can run into issues when decorating a Hello Kitty cake. Here are some common mistakes and how to prevent them:
Mistake 1: Overhandling Fondant
- Problem: Over-kneading or stretching fondant can cause cracks or dryness.
- Solution: Knead fondant gently and store unused portions in an airtight bag to prevent drying.
Mistake 2: Incorrect Proportions for the Face
- Problem: Placing eyes, nose, and whiskers unevenly can distort Hello Kitty’s look.
- Solution: Use a ruler or stencil to lightly mark where each feature should go before attaching them.
Mistake 3: Fondant Cracking or Tearing
- Problem: If the fondant is too dry or rolled too thin, it can crack when applied to the cake.
- Solution: Roll fondant about 1/8-inch thick and knead in a bit of shortening if it starts to dry out.
Mistake 4: Buttercream Melting
- Problem: Warm temperatures can cause buttercream to melt, making decorations slide off.
- Solution: Refrigerate your cake for 15-20 minutes before decorating, especially in hot weather.
🎀 Pro Tip: If using piped details, refrigerate the cake for 10 minutes between decorating steps to keep the design sharp.
3. Storage & Serving Tips
To keep your Hello Kitty cake fresh and beautiful until serving time, follow these storage and transportation tips:
How to Store Your Cake Properly
| Storage Method | Best Practice |
| Room Temperature | Store in a cool, dry place for up to 24 hours if covered with fondant. |
| Refrigeration | Place in a cake box or an airtight container to prevent drying. Avoid condensation by letting it come to room temperature before serving. |
| Freezing | If storing for more than a few days, wrap the cake in plastic wrap and foil before freezing. Thaw it overnight in the fridge before serving. |
How to Transport the Cake Safely
- Place the cake in a sturdy cake box to prevent damage.
- If traveling long distances, place a non-slip mat under the cake box to keep it from sliding.
- Keep the cake away from direct sunlight and heat sources while transporting.
🎀 Pro Tip: If your cake has delicate fondant decorations, transport them separately and attach them after arriving at the venue to avoid breakage.
4. Best Occasions for a Hello Kitty Cake
A Hello Kitty cake is perfect for many special occasions, making it a versatile and fun choice for celebrations. Here are some great events where it shines:
1. Birthday Parties 🎉
- A classic Hello Kitty cake is ideal for kids’ birthdays, especially when paired with matching Hello Kitty-themed decorations and cupcakes.
2. Baby Showers 👶
- A pastel pink or blue Hello Kitty cake is perfect for celebrating an upcoming baby. You can even customize the bow color based on the baby’s gender.
3. Themed Parties 🎀
- Whether it’s a Hello Kitty tea party, a cartoon-themed celebration, or a kawaii-style event, a Hello Kitty cake makes an adorable centerpiece.
4. Holidays & Special Occasions 🎄🎃
| Holiday | Hello Kitty Cake Variation |
| Christmas 🎄 | Add red and green decorations or a Santa hat. |
| Halloween 🎃 | Create a spooky Hello Kitty with black and orange colors. |
| Valentine’s Day 💕 | Shape the cake into a heart with Hello Kitty details. |
| Easter 🐣 | Decorate with pastel eggs and floral fondant. |
🎀 Pro Tip: Personalize your Hello Kitty cake with a custom name topper or a special message in edible gold letters for extra charm.
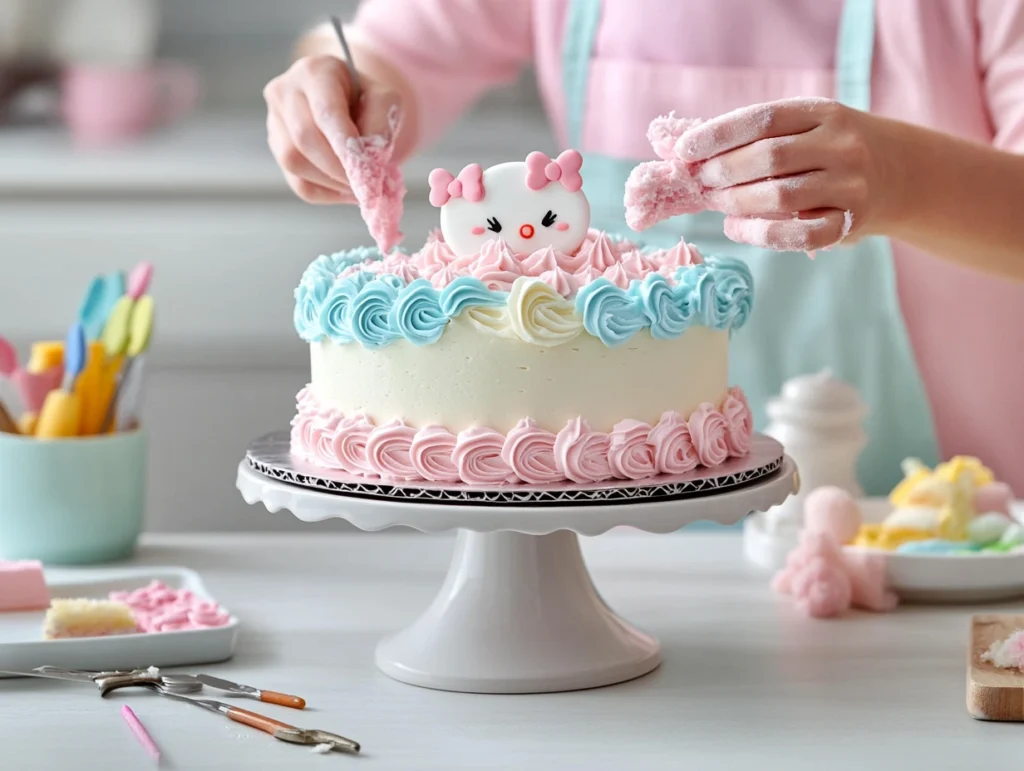
Conclusion
Creating a Hello Kitty cake is a fun and rewarding experience that lets your creativity shine. Whether you’re making it for a child’s birthday, a baby shower, or a themed celebration, this iconic cake will undoubtedly be a crowd-pleaser. By following the tips and tricks shared in this post, you’ll create not only a delicious cake but also a stunning work of edible art that captures Hello Kitty’s timeless charm.
From choosing the right ingredients and tools to mastering the step-by-step recipe, you now have a clear roadmap for crafting your perfect cake. We’ve covered everything, including the key decorating techniques, from the fondant face details to the signature pink bow, ensuring every step is easy to follow. Plus, with our creative design ideas—from the classic look to themed variations—you’ll have no shortage of inspiration to make your Hello Kitty cake truly unique.
It’s also essential to remember the pro tips—whether it’s mixing the perfect shade of pink, avoiding common mistakes with fondant, or storing and transporting your cake safely to the celebration venue. These practical pointers ensure that your cake stays fresh and stunning until it’s time to cut and serve.
When it comes to occasions, a Hello Kitty cake isn’t just for kids—it’s perfect for any celebration. With its cute and customizable design, it works wonderfully for birthdays, baby showers, themed parties, and even holiday occasions. You can create a cake that not only tastes amazing but also adds an extra element of fun and delight to the event.
Lastly, baking a Hello Kitty cake is an excellent way to express your baking skills and your love for this beloved character. Whether you’re a novice baker or a seasoned pro, the joy of seeing the smiling face of Hello Kitty come to life on your cake is unmatched.
So gather your ingredients, roll up your sleeves, and get ready to create a Hello Kitty cake that will wow your guests and leave everyone asking for a second slice! 🎂🎀
Frequently Asked Questions (FAQs) About Making a Hello Kitty Cake
What are some popular Hello Kitty cake designs?
There are many creative Hello Kitty cake designs, including the classic pink cake, a 3D standing Hello Kitty cake, and themed variations like a unicorn or floral Hello Kitty cake. You can also add decorative elements like sprinkles, edible glitter, and fondant accessories.
How can I make a Hello Kitty cake for a girl’s birthday?
A Hello Kitty cake for a girl can be designed with soft pink frosting, a signature fondant bow, and cute embellishments like hearts or stars. Adding a personalized name topper or themed decorations makes it extra special for birthdays.
Where can I find Hello Kitty cake toppers?
You can purchase Hello Kitty cake toppers from online stores, craft shops, or baking supply stores. Alternatively, you can make edible toppers using fondant, sugar sheets, or printed edible images.
How do I find inspiration for Hello Kitty cakes on Pinterest?
Search for “Hello Kitty Cake Pinterest” to explore thousands of cake ideas. You’ll find inspiration for different designs, color themes, and decoration techniques to help you create a stunning cake.
What are some birthday Hello Kitty cake ideas?
For a Birthday Hello Kitty Cake, you can customize it with age toppers, themed sprinkles, or a rainbow-colored design. Mini Hello Kitty cupcakes are also a great addition for parties! 🎀🎂

